.svg)
Customizing templates in Enpass
In Enpass for Mac, Windows and Linux, you can create your own custom templates and manage dozens of pre-loaded templates.
Creating custom templates
To create a new template:
-
Go to Settings > Customize.
-
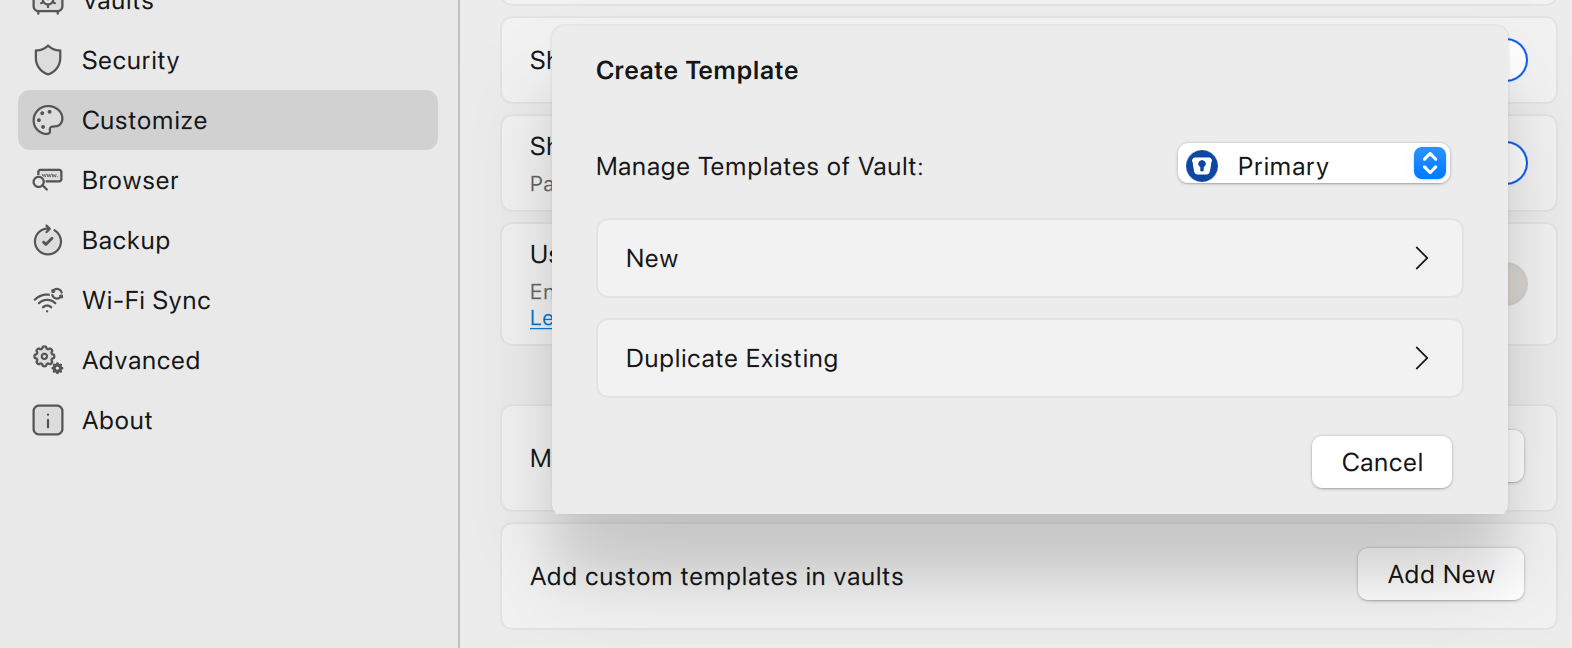
Find Add custom templates in vaults and click Add New.
-
If you have more than one vault, select a vault for your new template.
-
Select New to create a template from scratch, or Duplicate Existing to use another template as a starting point.
-
Enter a title for the new template and select a Category.
-
Use the Add Field and Add Section buttons to populate your template with features you need.
-
In addition to self-explanatory fields like Username and Email, some field types include:
-
One-time Code (for auto-generated 6-digit authenticator codes)
-
Multiline (for longer fields of notes or details)
-
CVC (the 3- or 4-digit cardholder confirmation numbers from credit cards)
-
Transaction Password (required by some banks for transfers, etc.)
-
-
-
Use ≡ to rearrange fields, and use ✕ to remove fields you don’t need.
-
Select Sensitive for any field where you want the content to be masked by ••• characters.
-
When finished, click Save to add your template to the gallery for the Category you selected.
Using your custom templates
Custom templates are saved within the category you chose during their creation. To use a template you’ve created, follow the procedure to add Items in Enpass.
Deleting custom templates
To delete a custom template:
-
Go to Settings > Customize.
-
Under the Manage heading, click the Templates button.
-
Right-click the template under the Existing Custom Templates heading and select Delete.