.svg)
Customizing categories in Enpass
Enpass automatically organizes your data into familiar Categories based on the templates you chose when creating new items. You can customize which Categories appear in Enpass, and can even create your own.
Desktop
To show or hide available Categories in the sidebar of Enpass for desktop:
-
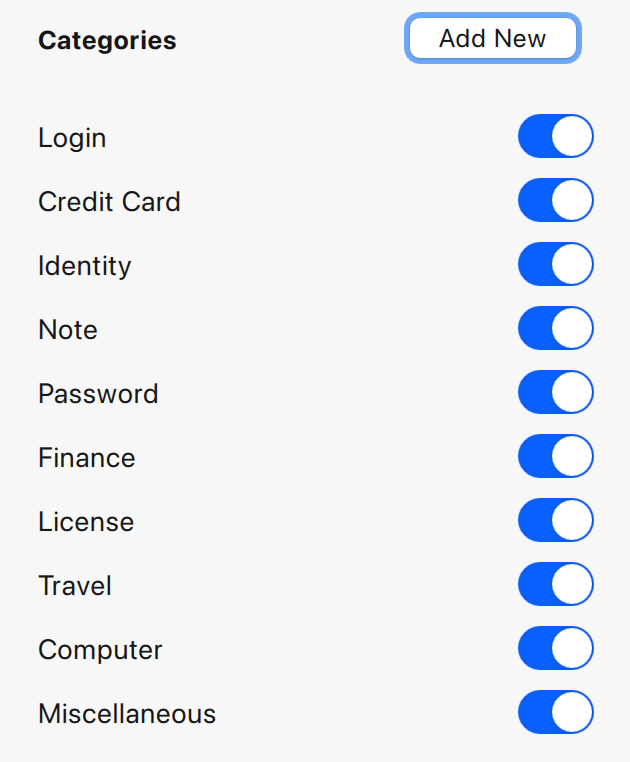
Next to the Categories heading on the sidebar, click :ICON-edit_pencil: icon.
-
Check or uncheck categories to select those you want to appear in the sidebar.
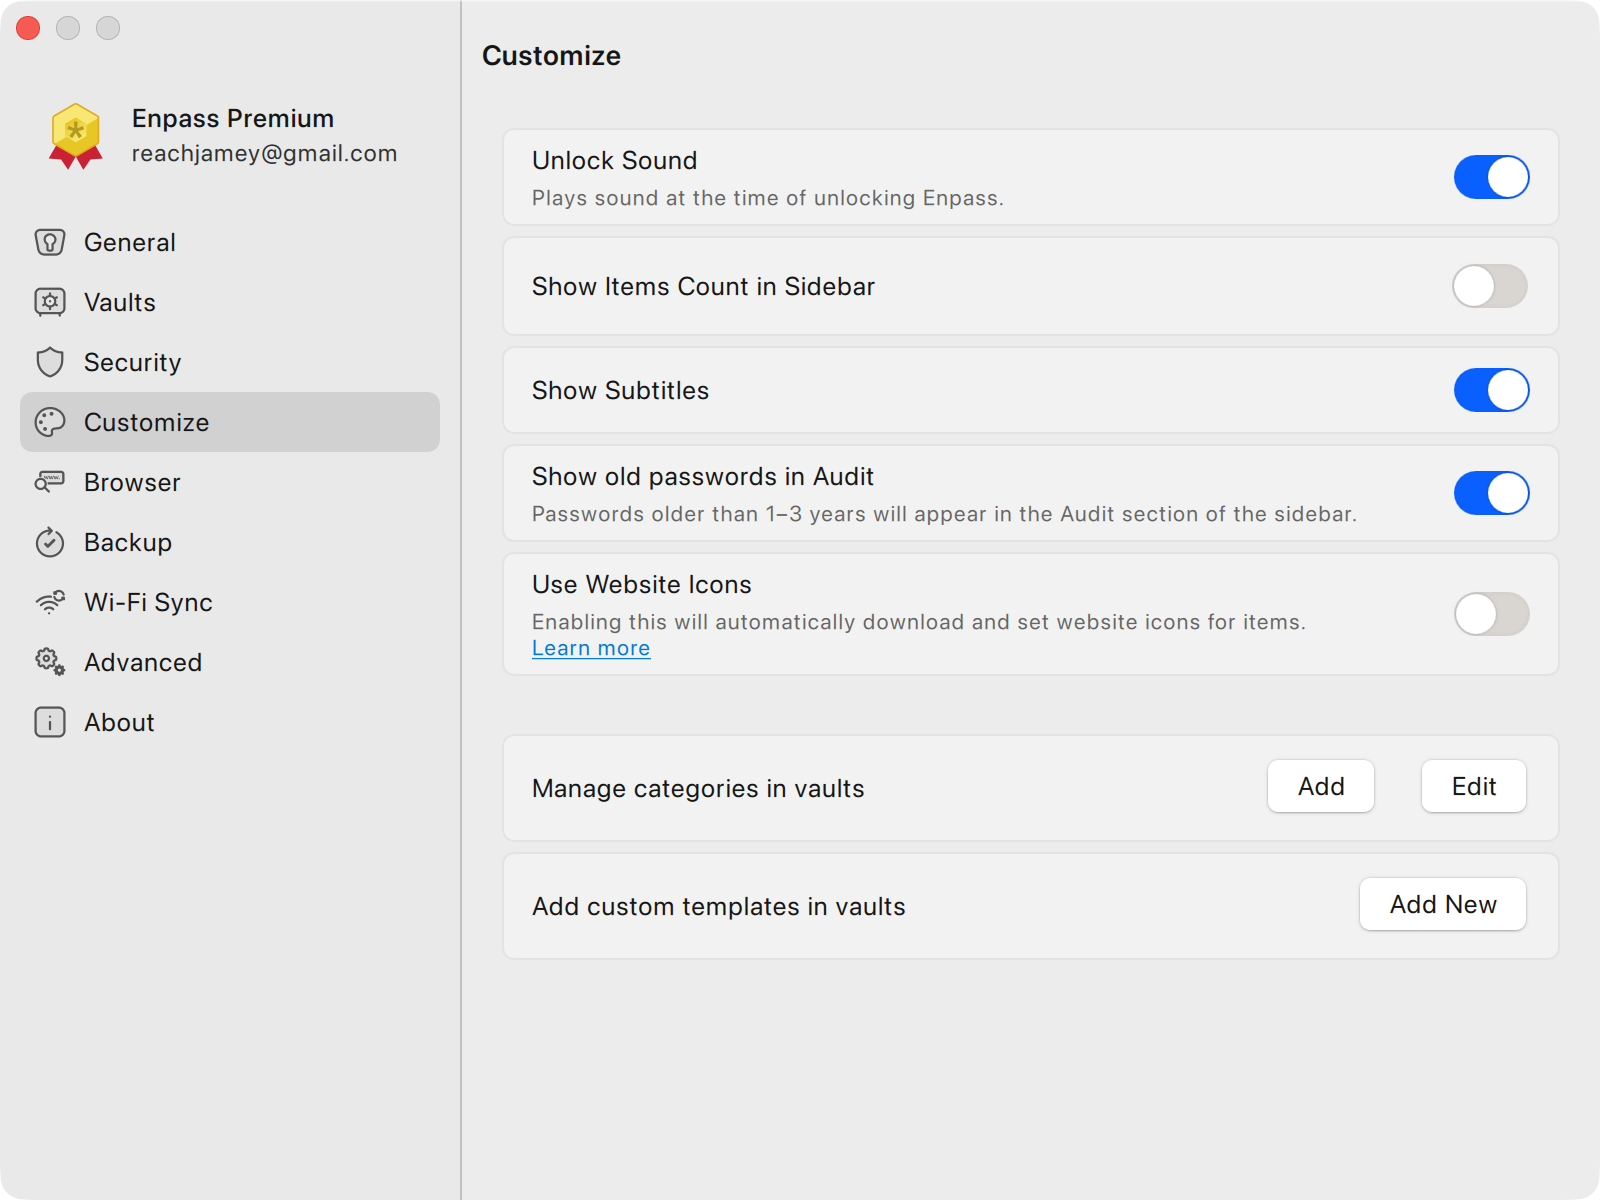
Categories can also managed in Settings > Customize > Manage Categories in vaults > Edit
To add your own Categories:
-
Go to Setting > Customize.
-
Under the Manage categories in vaults, click Add.
-
Select Add Category.
-
Enter a name of your new category.
-
If you have multiple vaults, also select the vaults where your new category should appear.
-
When finished, click Save.
To change the Category of an existing Item:
-
Find and right-click an Item in the Items List, then select Change Category.
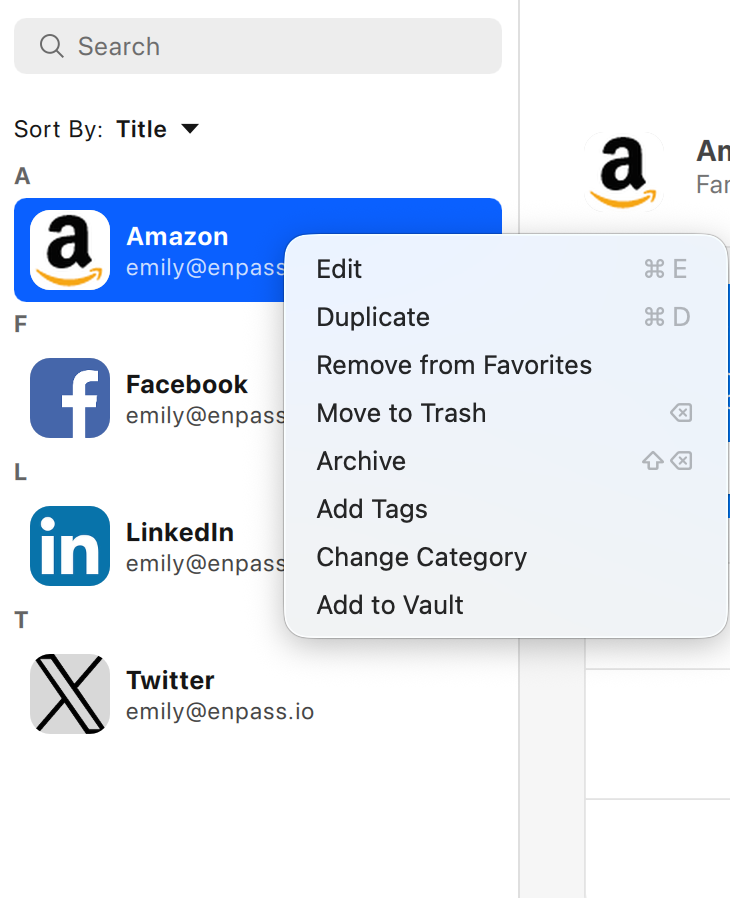
-
Select a new category from the options displayed on the left of the screen.
iOS
To change the category of an existing Item in Enpass for iOS:
-
In the Item Details view, scroll down and select Change Category.
-
Select a new category from the options displayed.

To show or hide available categories:
-
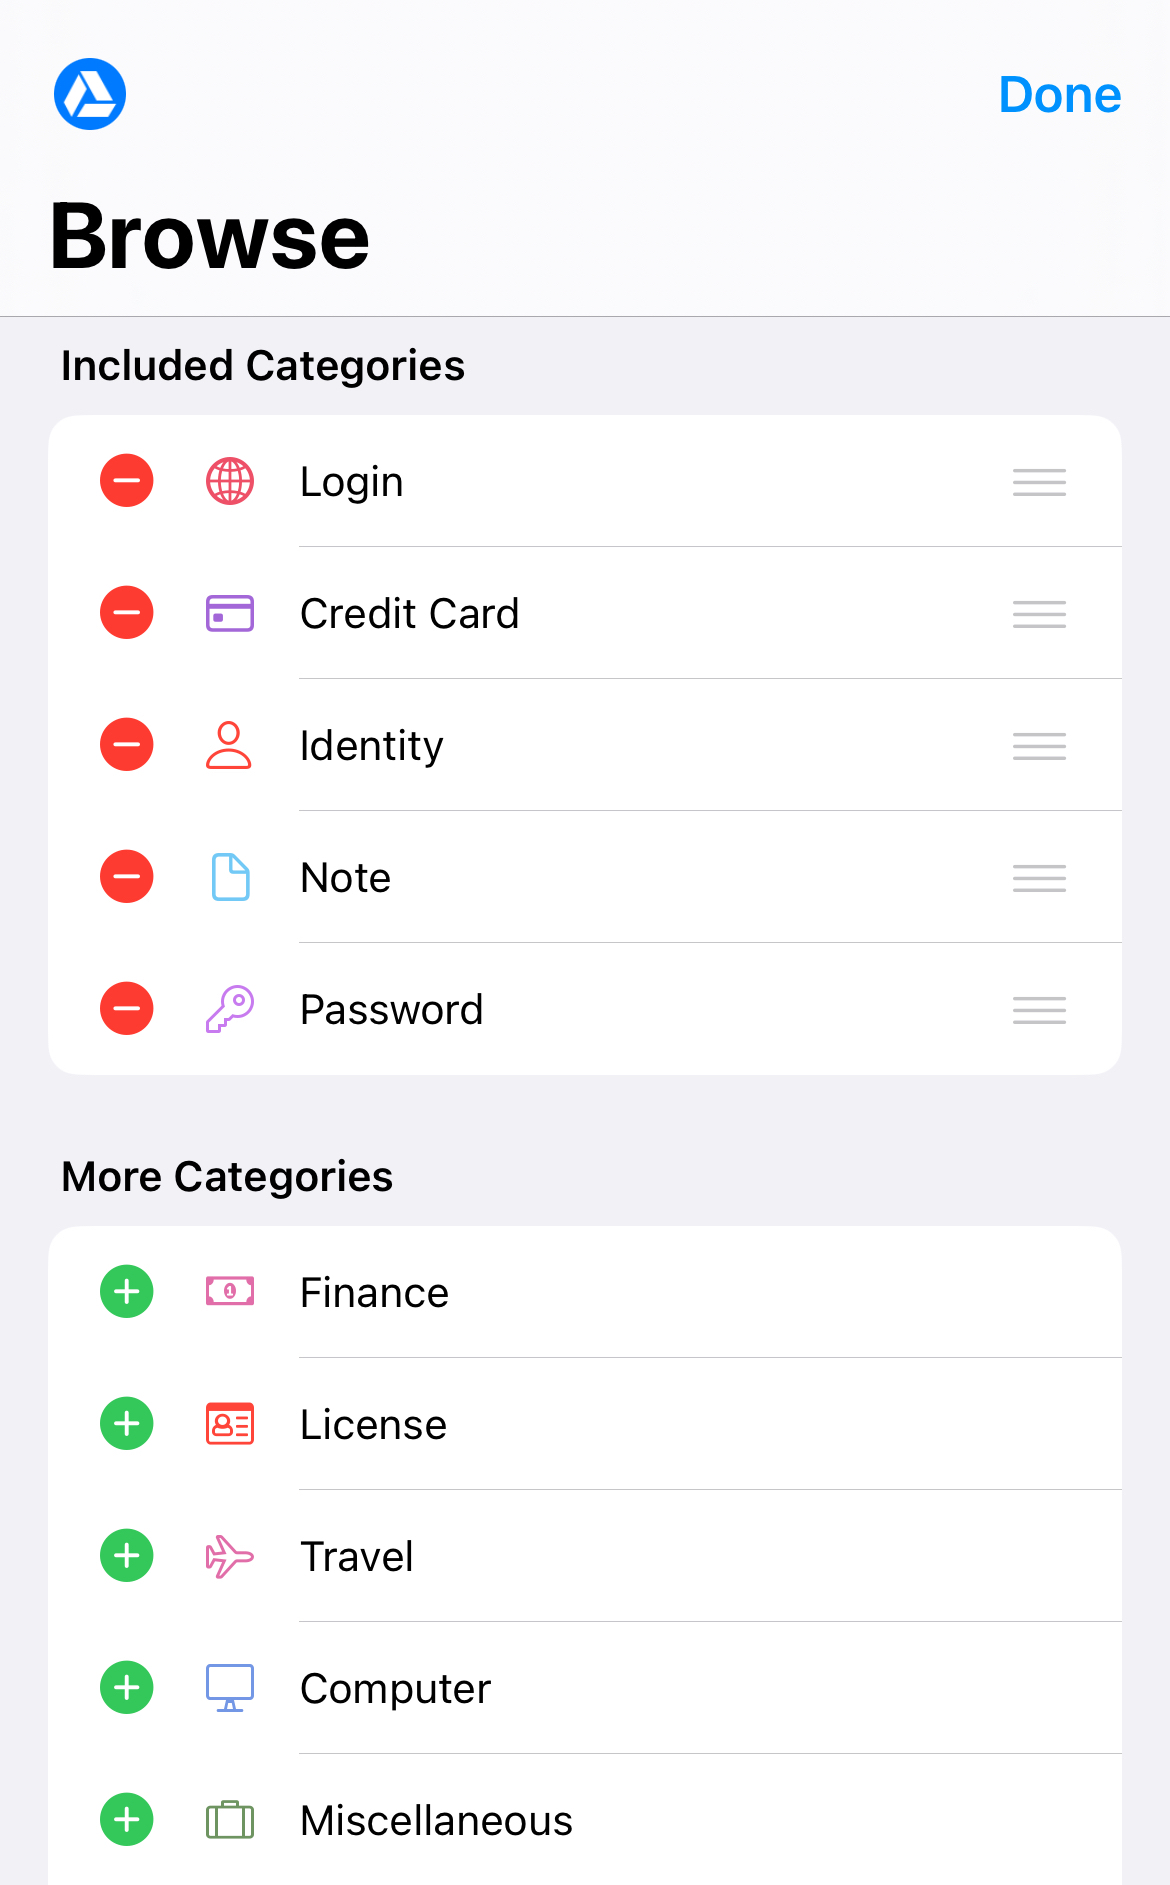
Tap the Browse tab, then tap Edit in the top-right corner.
-
To hide a category, tap :ICON-ios-minus: to the left of the category name.
-
To restore a previously hidden category, tap :ICON-ios-plus:.
Android
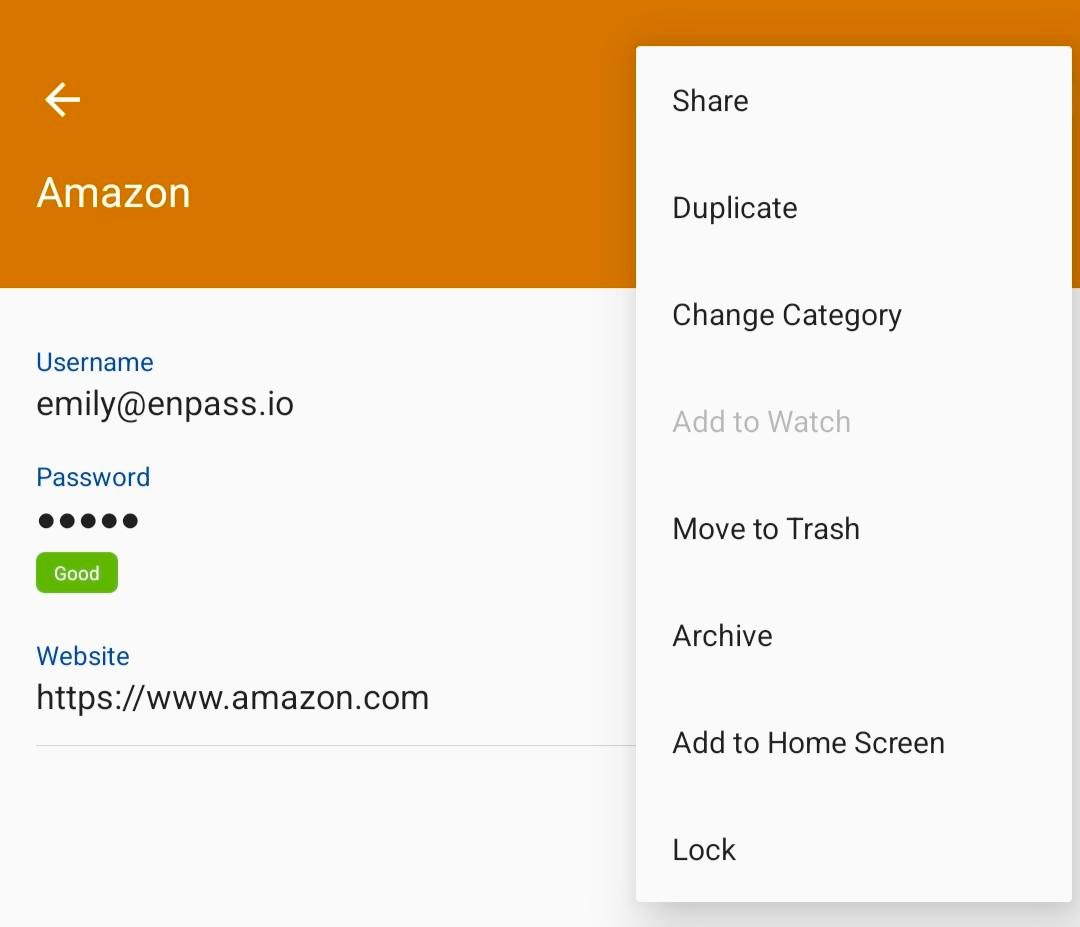
To change the category of an existing Item in Enpass for Android:
-
In the Item Details view, tap ⋮ in the top-right corner, and select Change Category.
-
Select a new category from the options displayed.