.svg)
Using tags in Enpass
In Enpass you can create and modify custom tags and subtags for more convenient and personalized organization of your Items.
Desktop
To create tags from the Tags section of the sidebar in Enpass for desktop:
-
In the Tags section of the sidebar, click

-
Enter a name for your tag, then click Save.
If you have multiple vaults, you can also choose in which vault the tag will appear.
To create tags from within an existing Item:
-
In the Item Details view, click

-
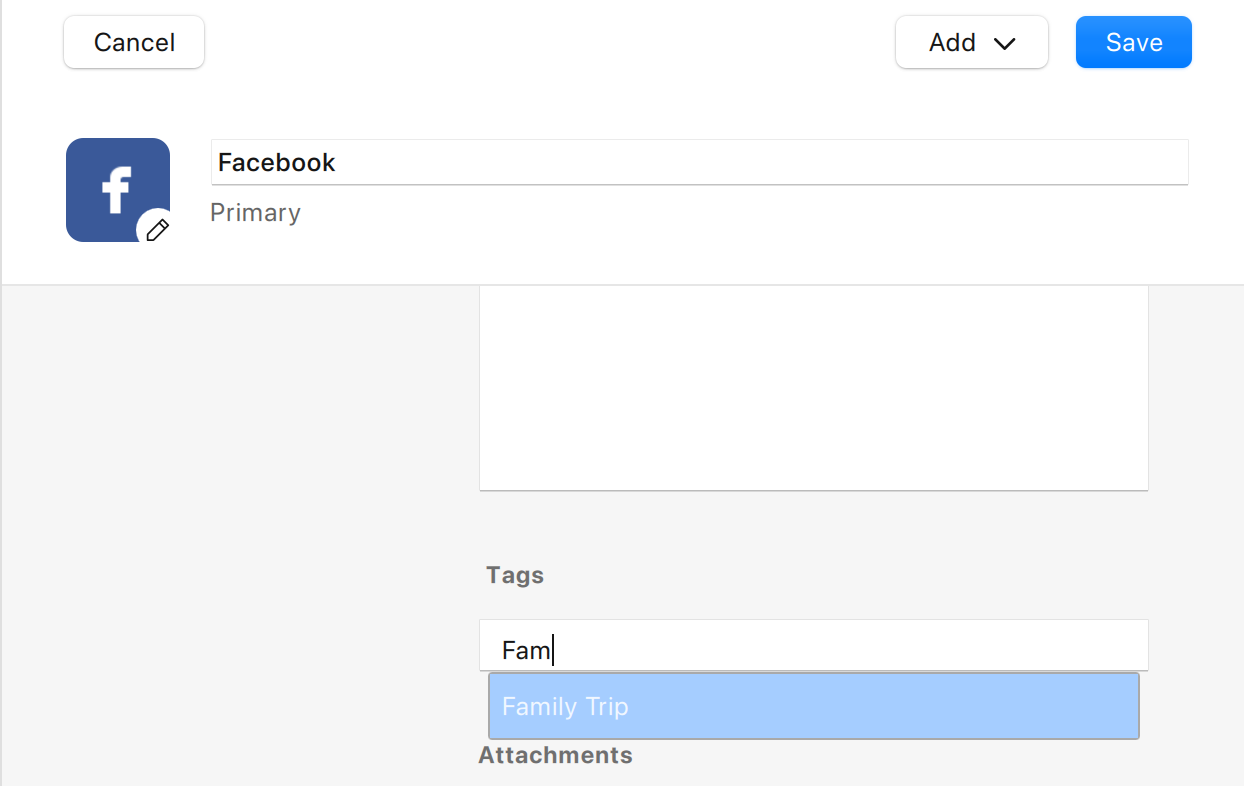
Scroll to the Tags field near the bottom of the screen.
-
Type your new tag name into the Tags field, then hit Enter on your keyboard.
This field allows you to create new tags or autocomplete the names of existing tags.
To apply tags to an existing Item:
-
In the Item Details view, click

-
Scroll to the Tags field near the bottom of the screen.
-
Begin typing a tag name in the Tags field, and select a tag from the autocomplete suggestions.
-
Click Save in the toolbar to update your Item.
You can also apply tags to existing items by dragging them, one at a time, from the Items List onto your chosen tag in the sidebar.
To edit a tag:
-
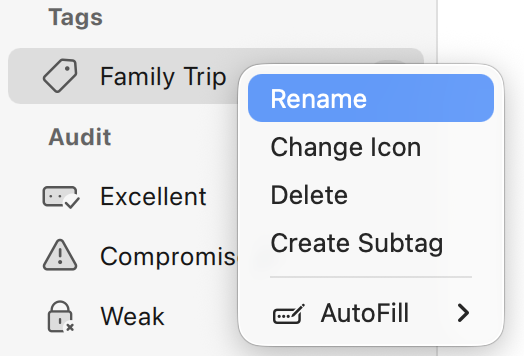
In the Tags section of the sidebar, right-click a tag, and select the action you'd like to take: Rename, Change Icon, Delete, or Create Subtag.
-
If renaming or creating a subtag, after typing the name, click Save to complete your action.
-
If selecting an icon, a pop-up will appear with a gallery of icons to choose from.
You can also create nesting subtags within the Tag field of the Item Details view by typing the name of an existing tag, followed by the subtag, with colon in between:
-
Tag:Subtag:Subsubtag
To untag an item from the sidebar:
-
In the Tags section of the sidebar, select the tag you want to remove from an Item.
-
In the Items List, right-click the item you want to untag, and select Untag.
To untag an item from Item Details subtags:
-
In the Item Details view, click
-
Scroll to the Tags field near the bottom of the screen.
-
Click the ✖ at the end of the tag you wish to remove.
-
Click Save in the toolbar when you're done editing your item.
iOS
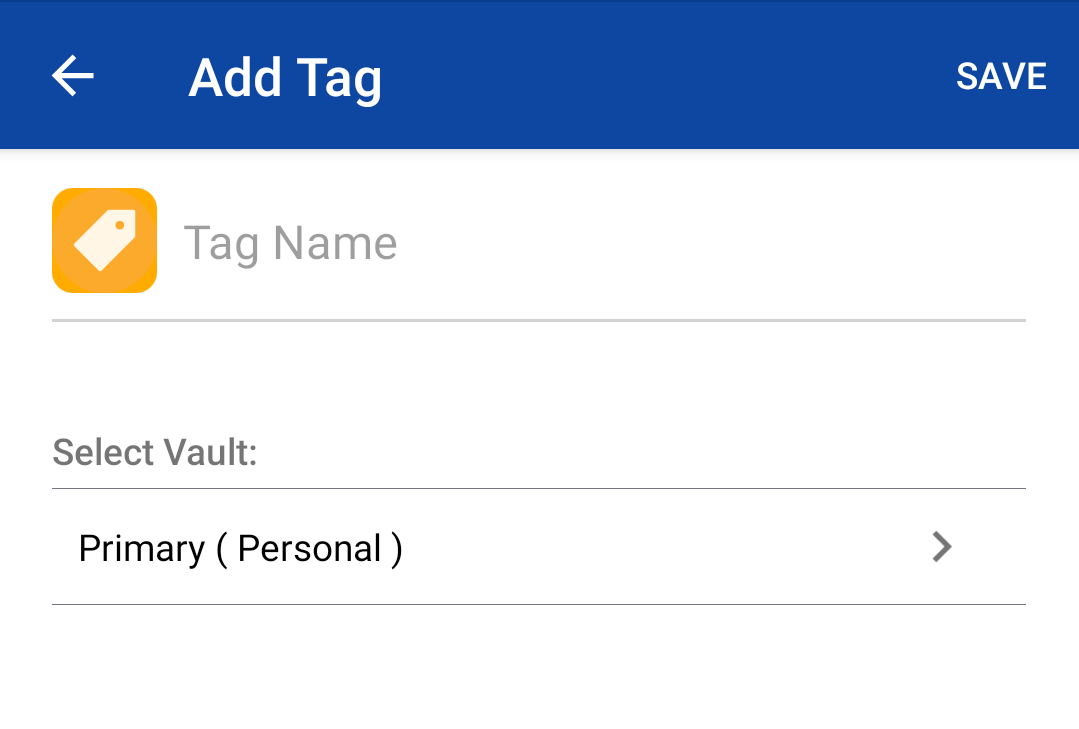
To create a new tag in Enpass for iOS:
-
In the Browse tab, under the Tags heading, tap New tag.
-
Enter a name for your tag, and tap Save.
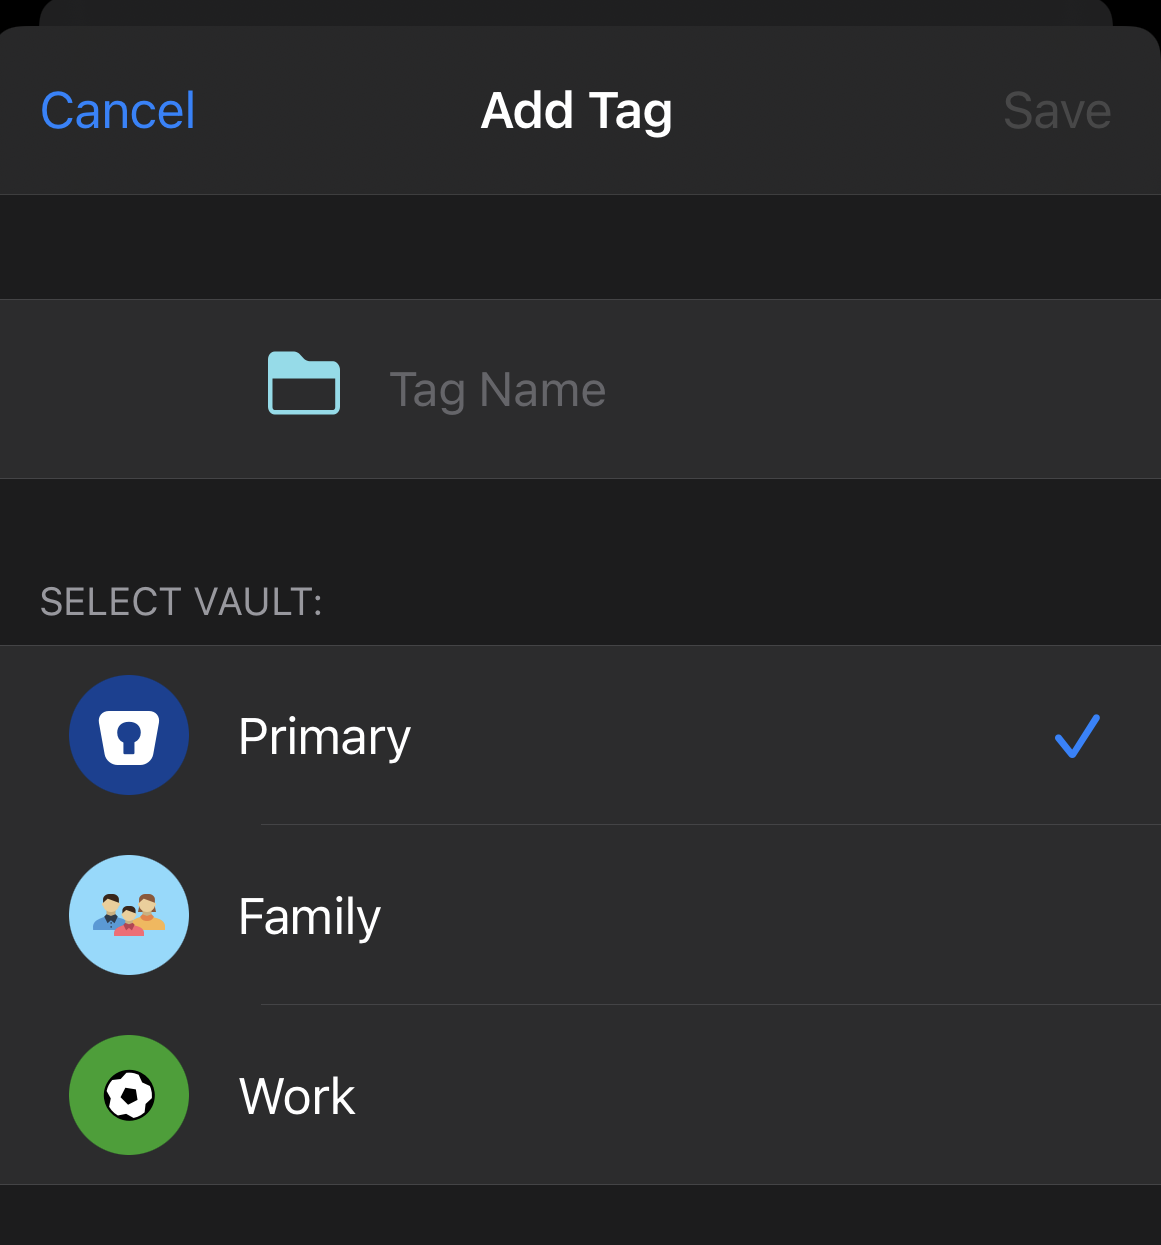
If you have multiple vaults, you can also choose in which vault the tag will appear.
To create nested subtags:
-
In the Browse tab, under the Tags heading, select the tag to which you’re adding a subtag.
-
Tap
-
Enter a tag name and tap Save.
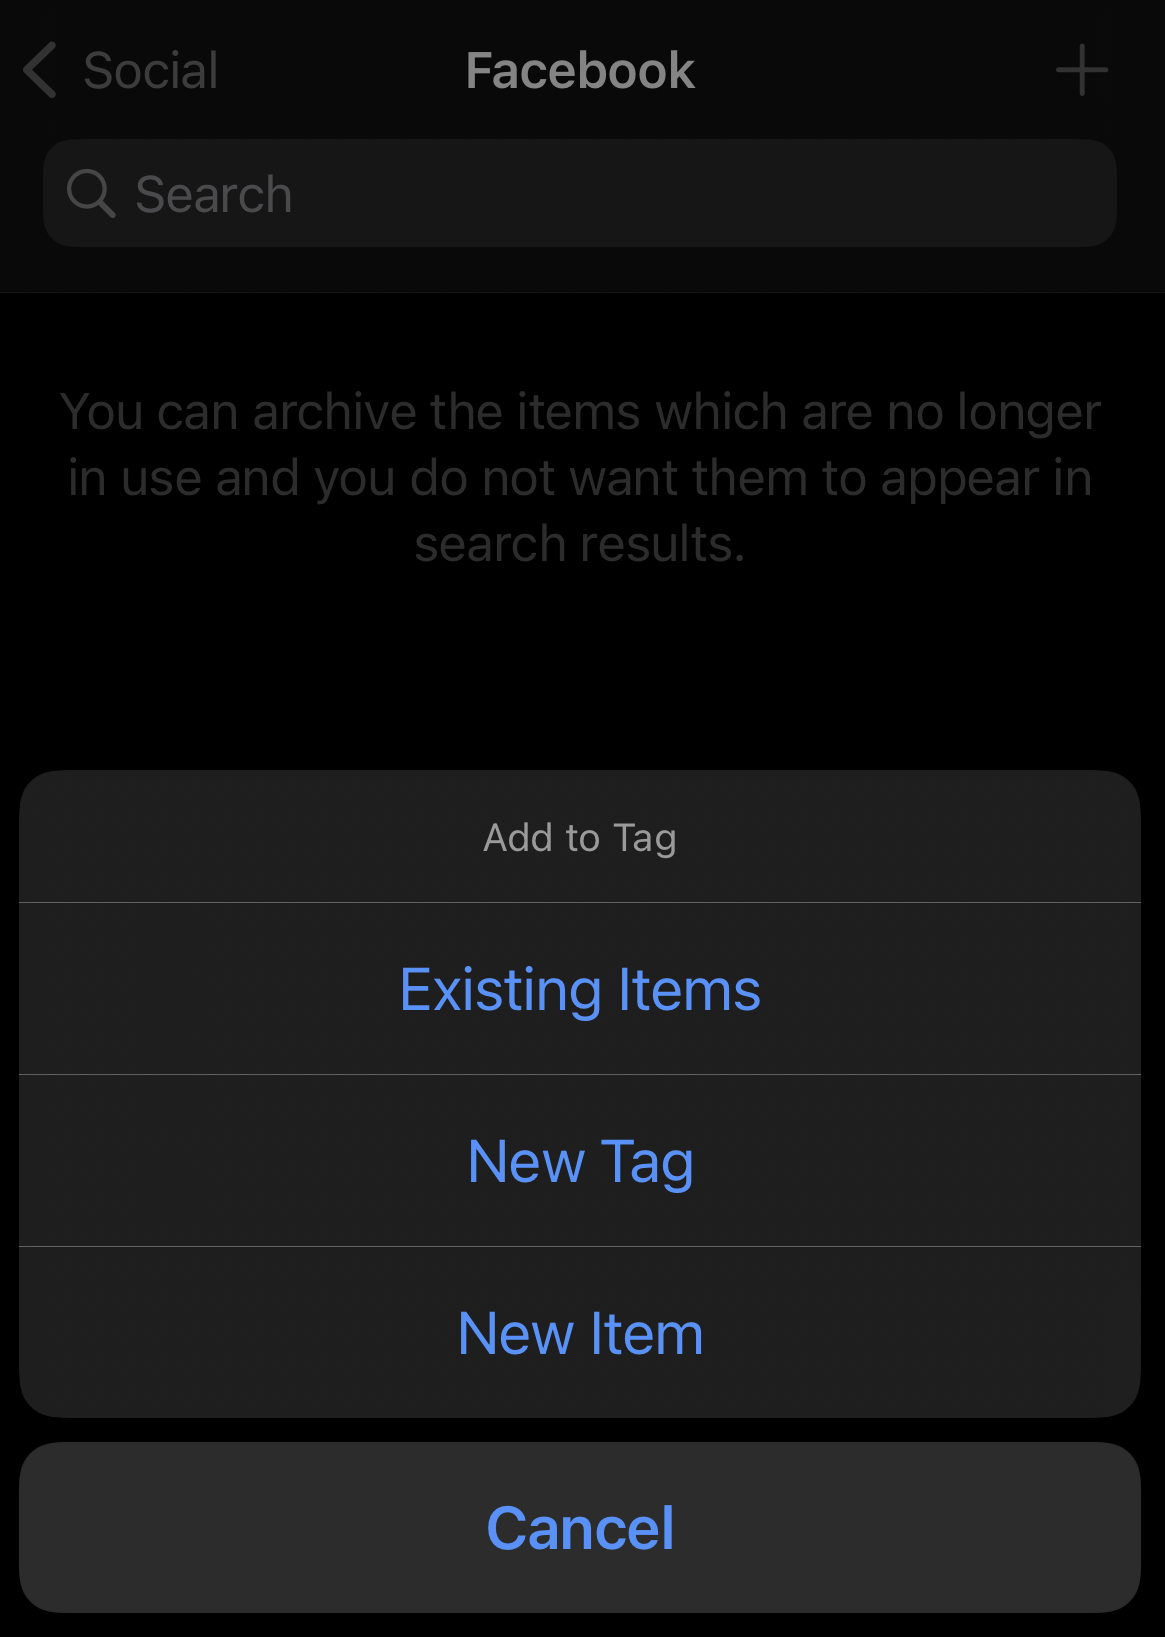
To add new Items from within a tag:
-
In the Browse tab, under the Tags heading, select the tag under which you want to add a new Item.
-
Tap
-
Fill in your Item details, then tap Save, and your chosen tag will automatically be applied.
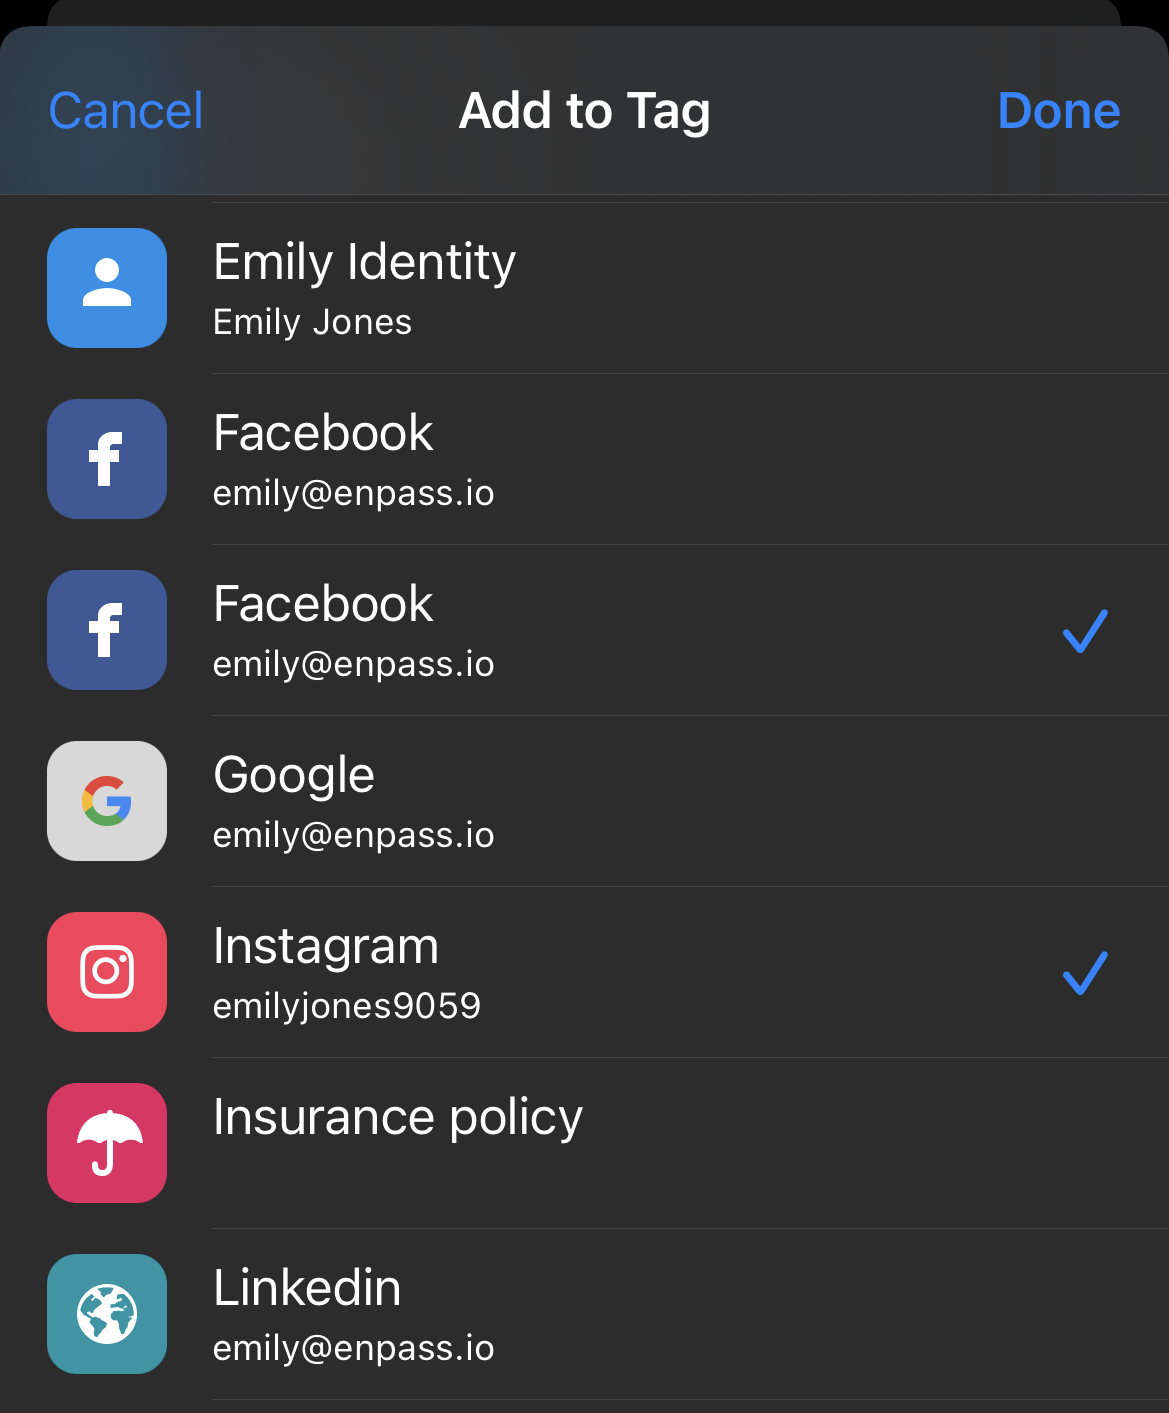
To apply tags to existing Items:
-
In the Browse tab, under the Tags heading, select the tag you want to add to exiting Items.
-
Tap
-
Tap an Item in the list, tap Done.
To untag an Item:
-
Tap Browse, then tap the tag that you want to remove from the item.
-
In the Browse tab, under the Tags heading, select the tag you want to remove from an Item.
-
Select the item from the list, then tap Edit.
-
Remove the tag, then tap Save.
Android
To create a new tag in Enpass for Android:
-
In the Browse tab, under the Tags heading, tap New tag.
-
Enter a name for your tag, and tap Save.
If you have multiple vaults, you can also choose in which vault the tag will appear.
To create nested subtags:
-
In the Browse tab, under the Tags heading, select the tag to which you’re adding a subtag.
-
Tap the floating
-
Enter a tag name and tap Save.
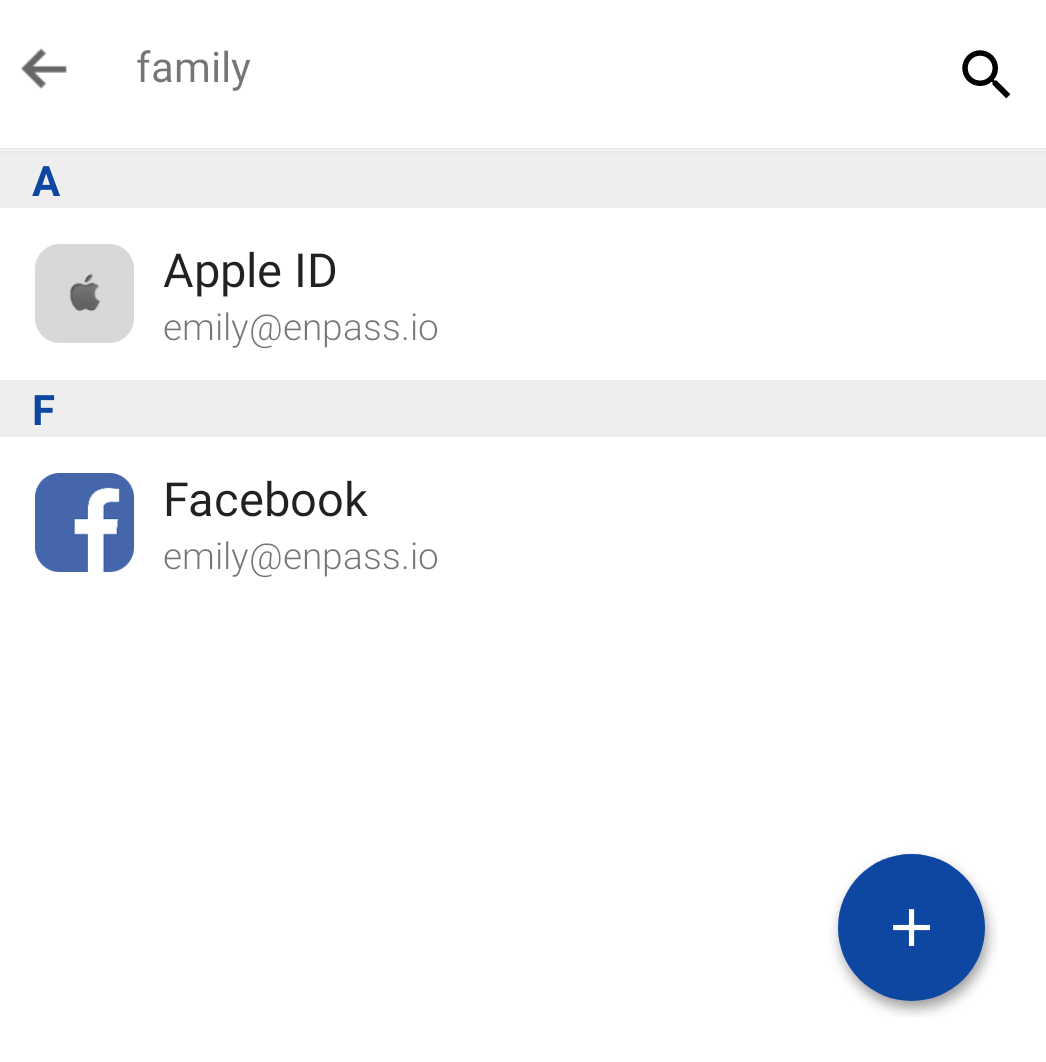
To add new Items from within a tag:
-
In the Browse tab, under the Tags heading, select the tag under which you want to add a new Item.
-
Tap
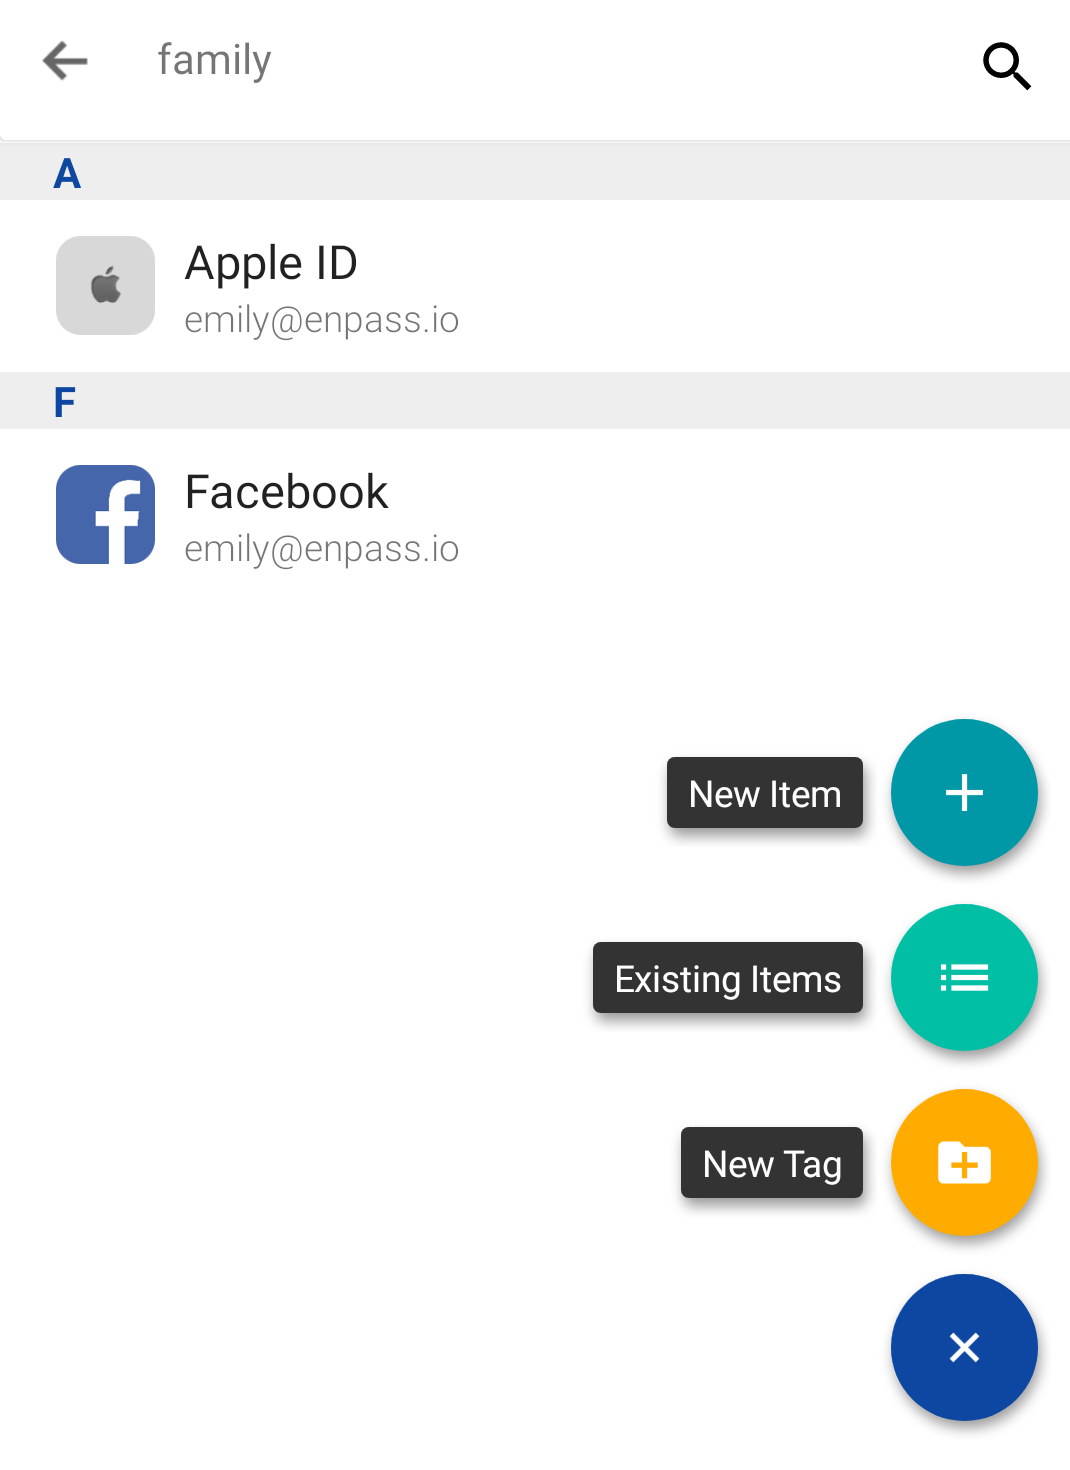
-
Fill in your Item details, then tap Save, and your chosen tag will automatically be applied.
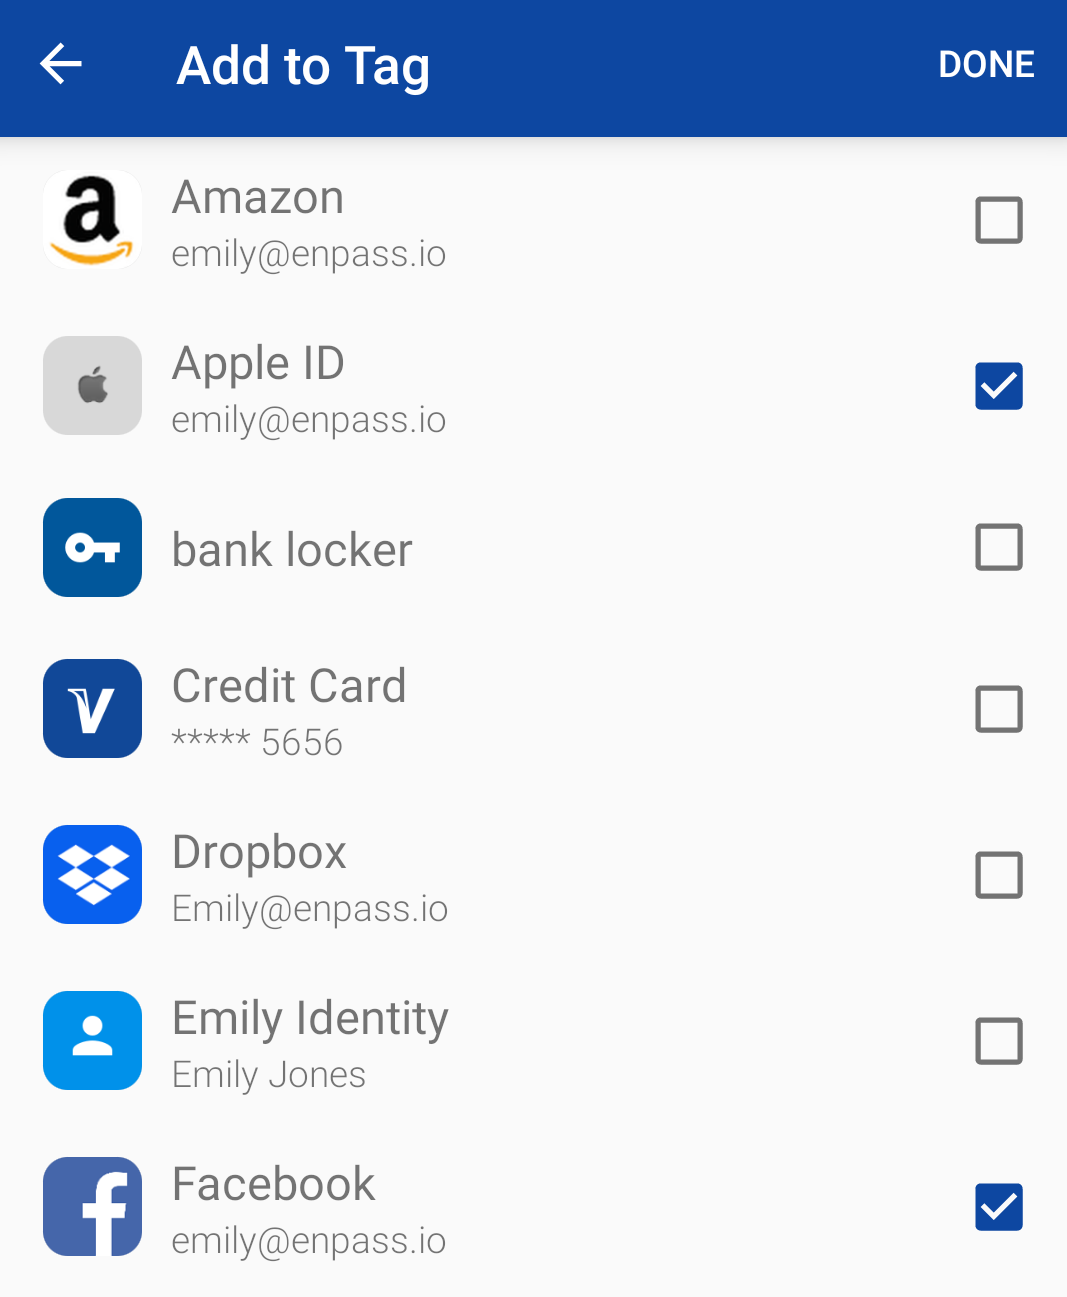
To apply tags to an existing Items from the tag browser:
-
In the Browse tab, under the Tags heading, select the tag you want to apply to an existing Items.
-
Tap
-
Select Items you want tagged, then tap Done.
To untag an item:
-
Tap Browse, then select the tag that you want to remove from an item.
-
In the Browse tab, under the Tags heading, select the tag you want to remove from an Item.
-
Long-tap the Item in the list, then tap Untag.