.svg)
This guide covers the complete SSO setup between Enpass Admin Console and Microsoft Entra ID (formerly Azure Active Directory). Follow each phase in order — you'll move between both portals during the process.
You'll need:
-
Super Admin access to the Enpass Admin Console
-
Admin access to the Microsoft Entra ID Portal
Phase 1: Start the SSO Connector in Enpass
-
Log in to the Enpass Admin Console.
-
Navigate to Settings > Single Sign-On.
-
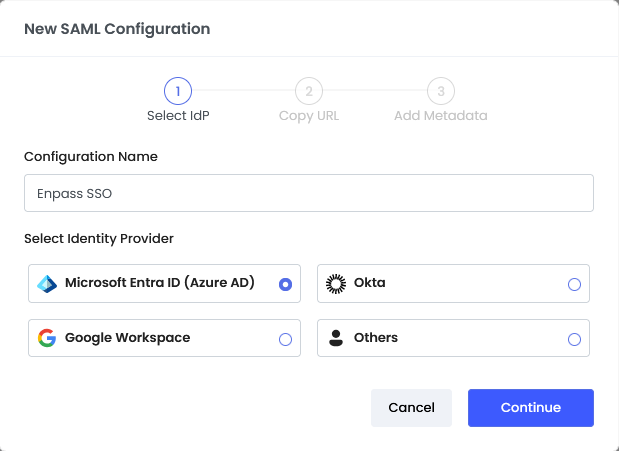
Click Set Up to open the SAML Configuration dialog.

-
Enter a name for your configuration (e.g., Entra ID SSO), select Microsoft Entra ID as the Identity Provider, and click Continue.
-
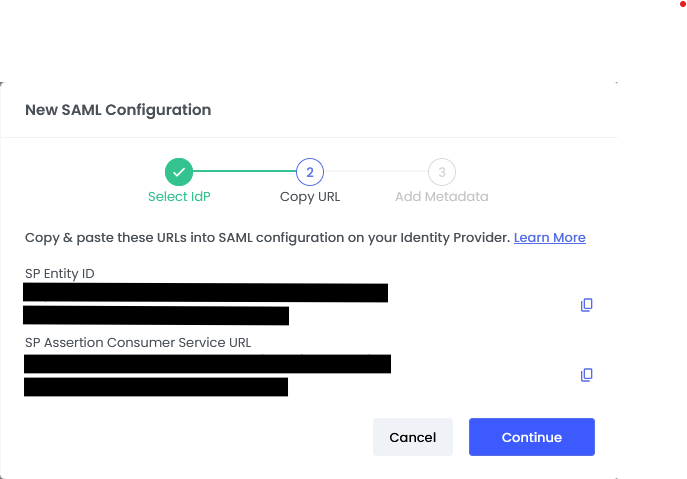
On the next screen, you'll see your SP Entity ID and SP Assertion Consumer Service (ACS) URL. Keep this page open — you'll need these values in Phase 2.
Phase 2: Configure the SAML App in Microsoft Entra ID
Step 1: Create an Enterprise Application
-
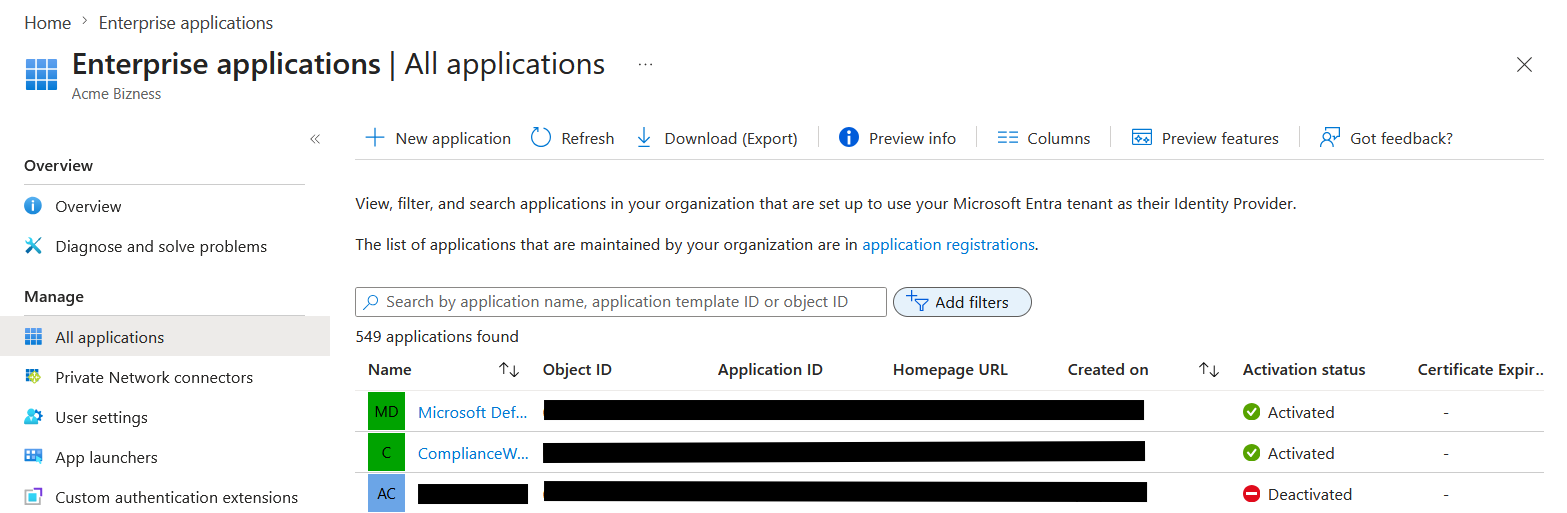
In the Entra ID Portal, select Enterprise Applications from the sidebar.
-
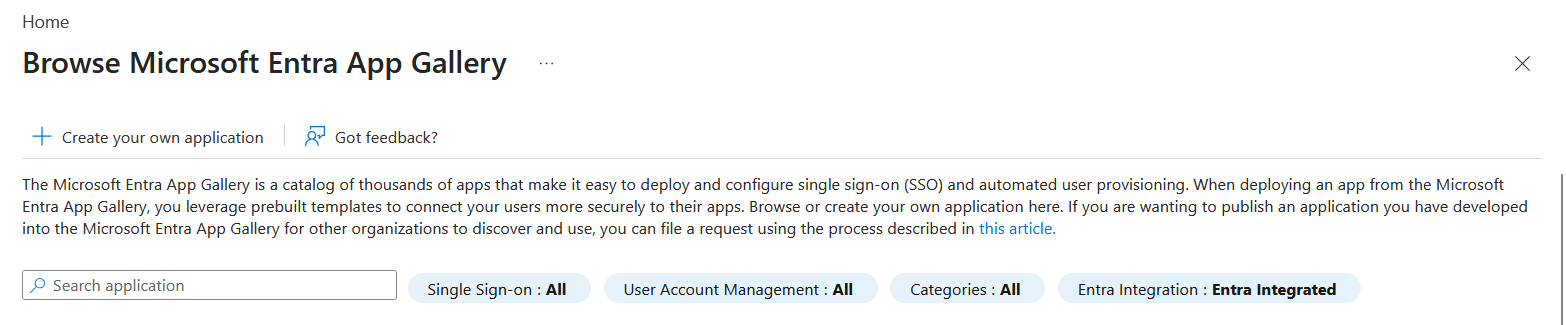
Click New Application > Create your own application.
-
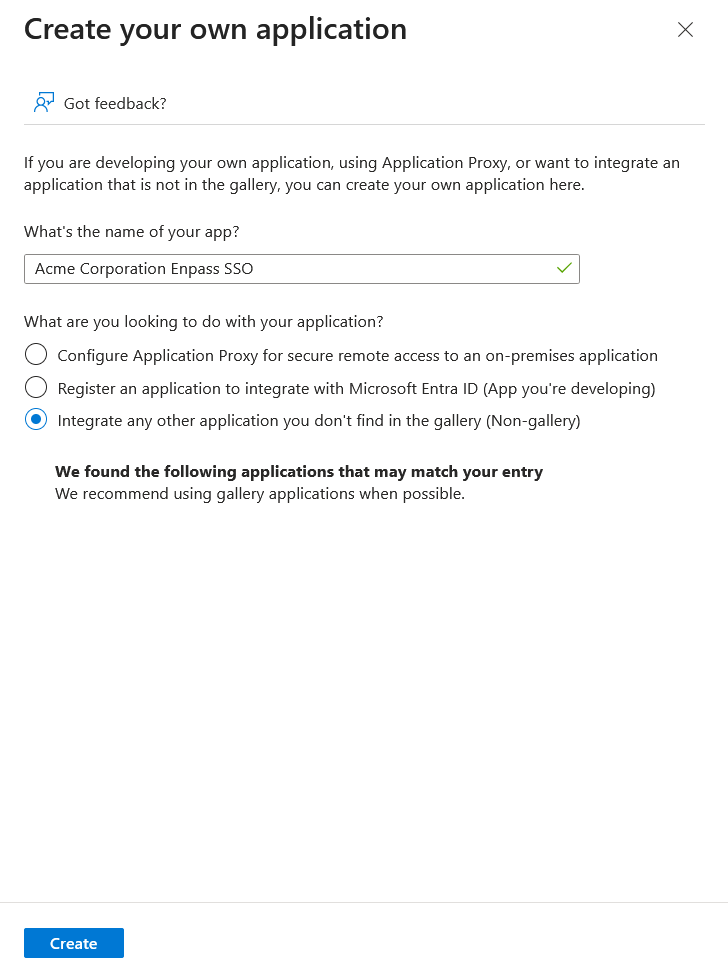
Enter a name for the app (e.g., Enpass Admin Console SSO).
-
Select Integrate any other application you don't find in the gallery (Non-gallery) and click Create.
-
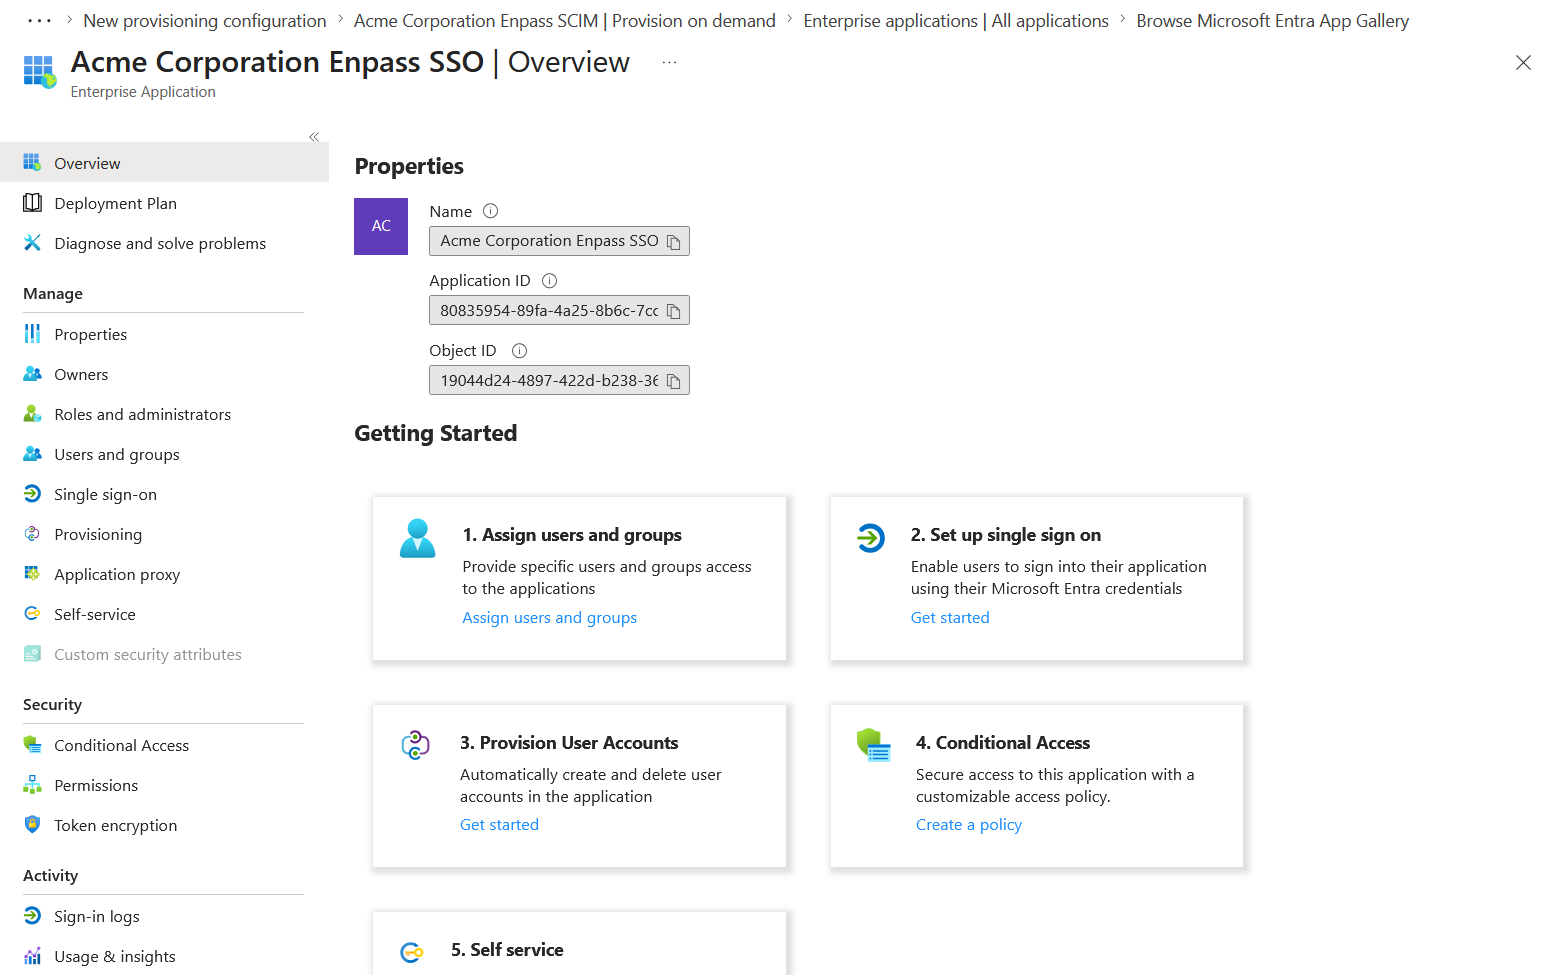
In the sidebar of the new app, select Single sign-on.
-
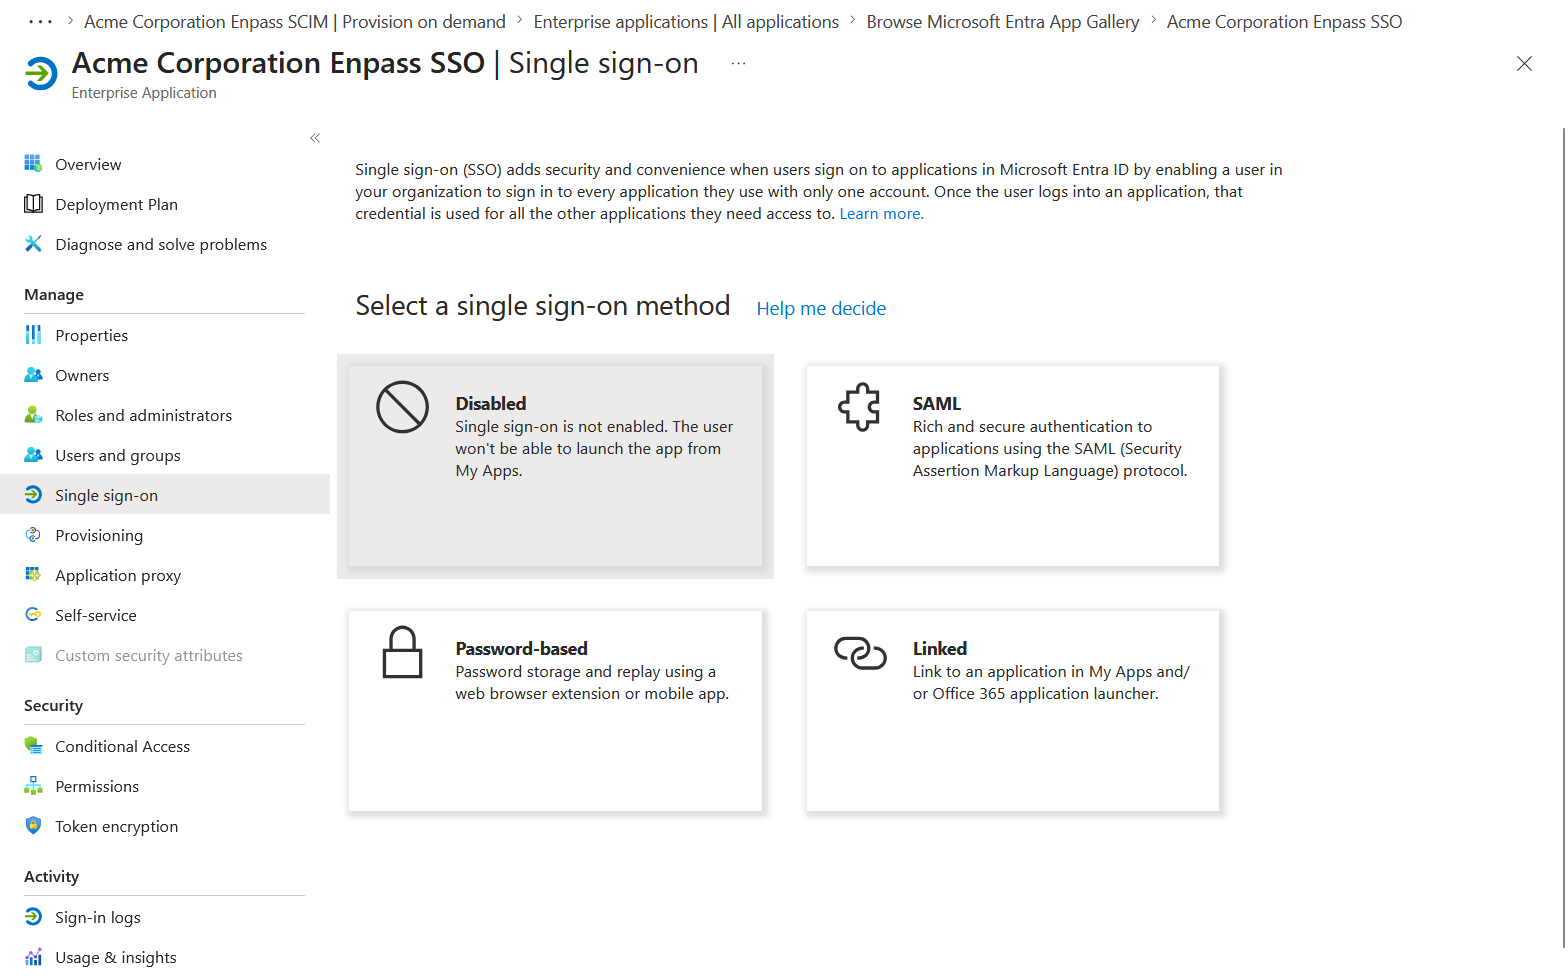
Choose SAML as the sign-on method.
Step 2: Enter Enpass SP Details
-
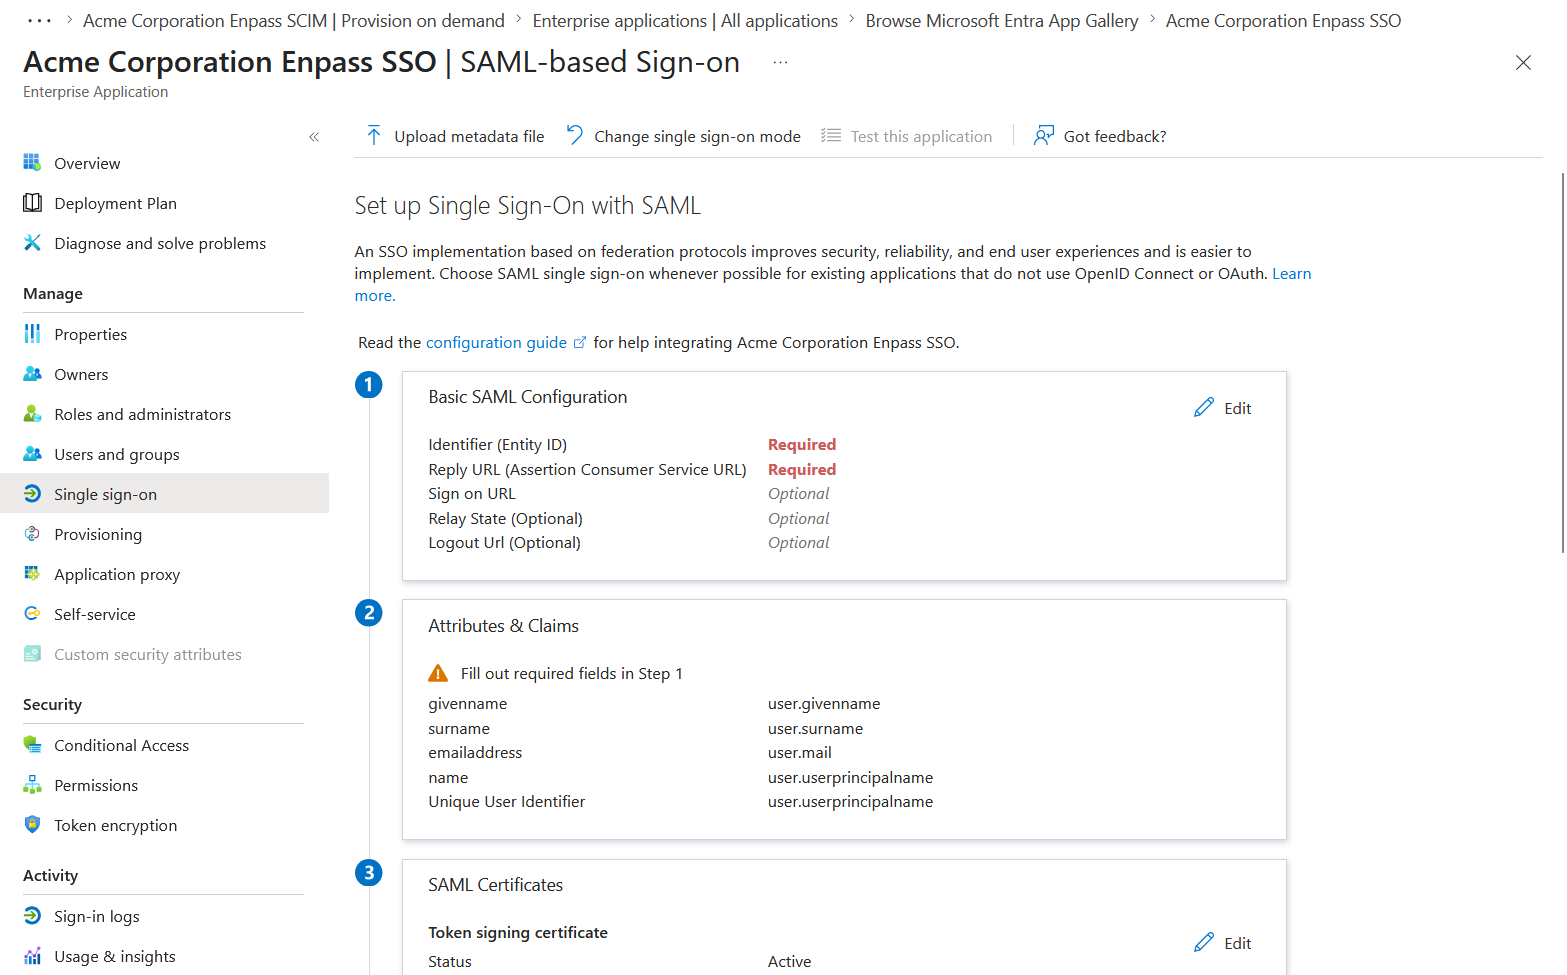
Under Basic SAML Configuration, click Edit.
-
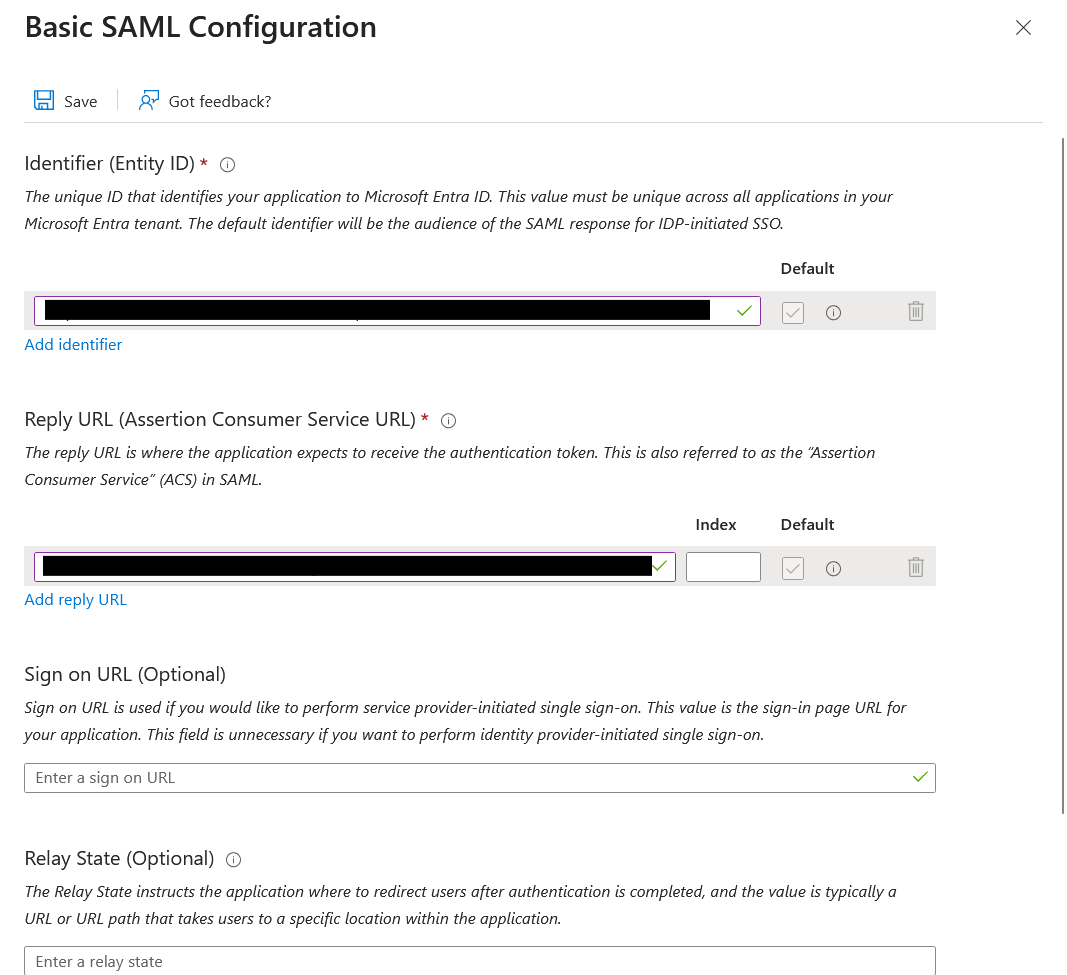
Enter the Identifier (Entity ID) and Reply URL (ACS URL) copied from the Enpass Admin Console in Phase 1.
-
Click Save, then close the panel.
Step 3: Configure Attributes & Claims
-
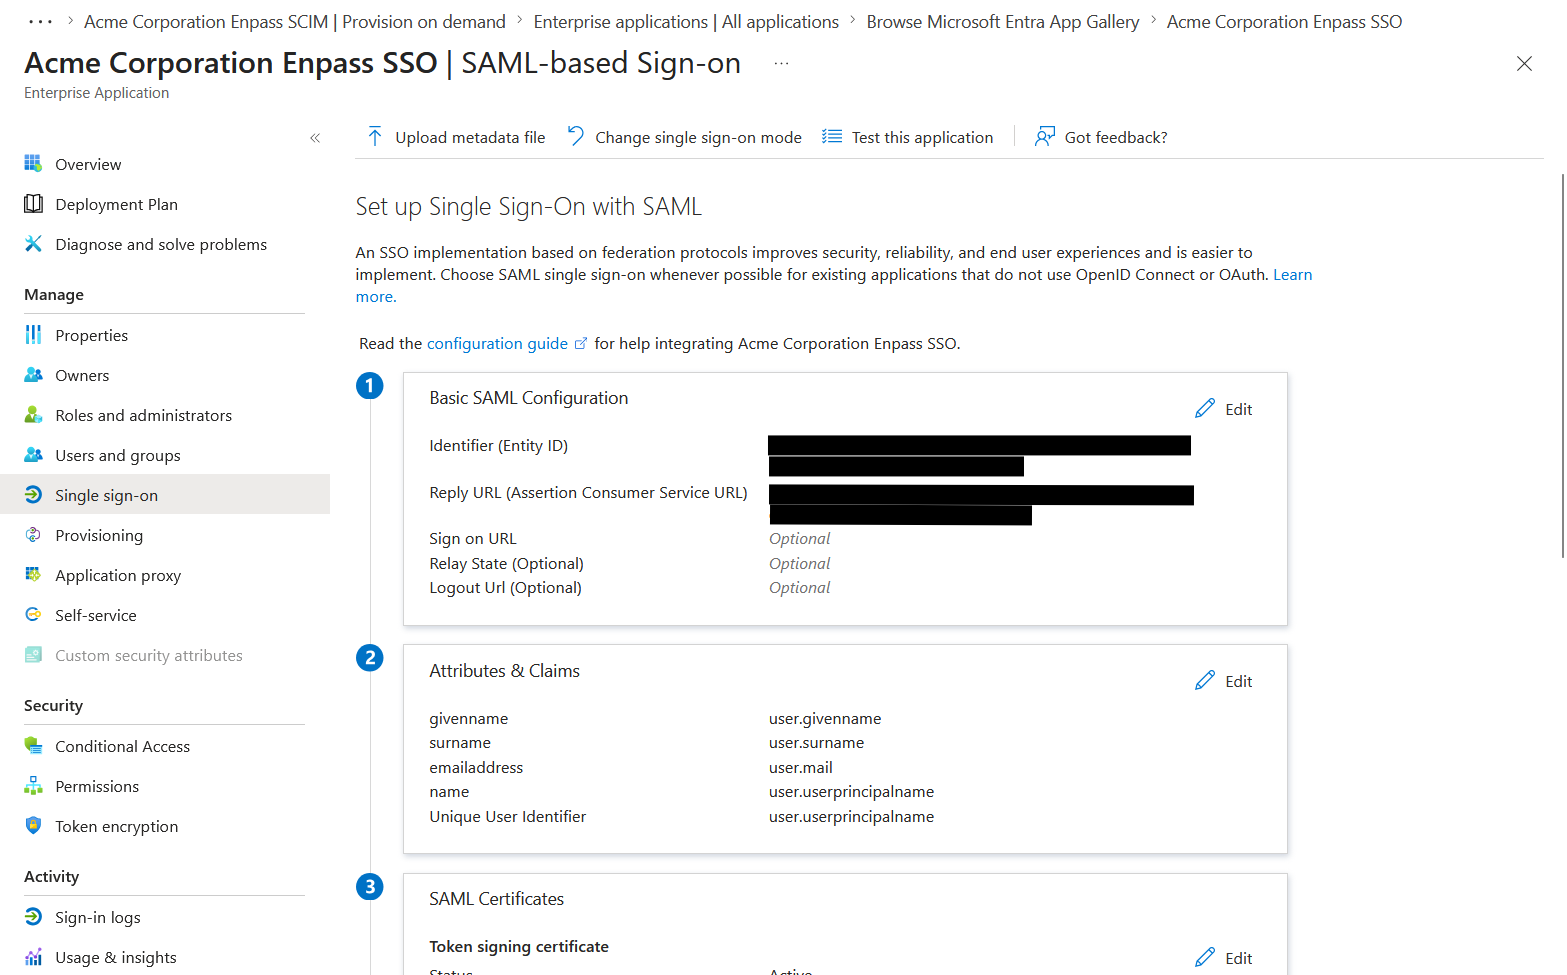
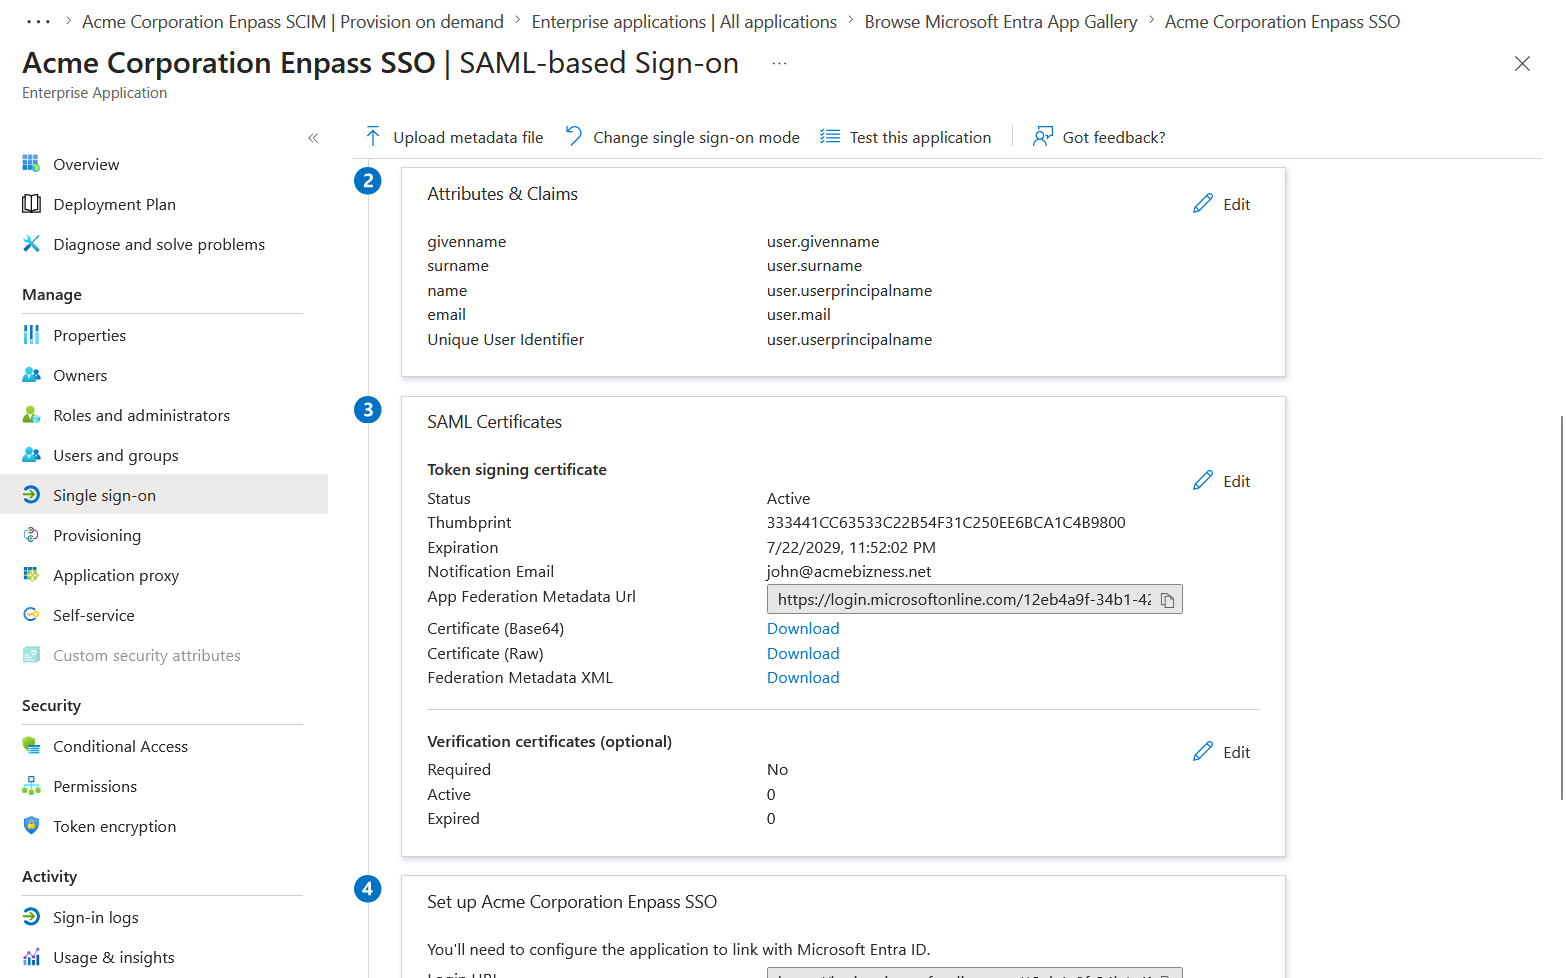
Under Attributes & Claims, click Edit.
-
In the Additional Claims section, click the claim with the value
user.email.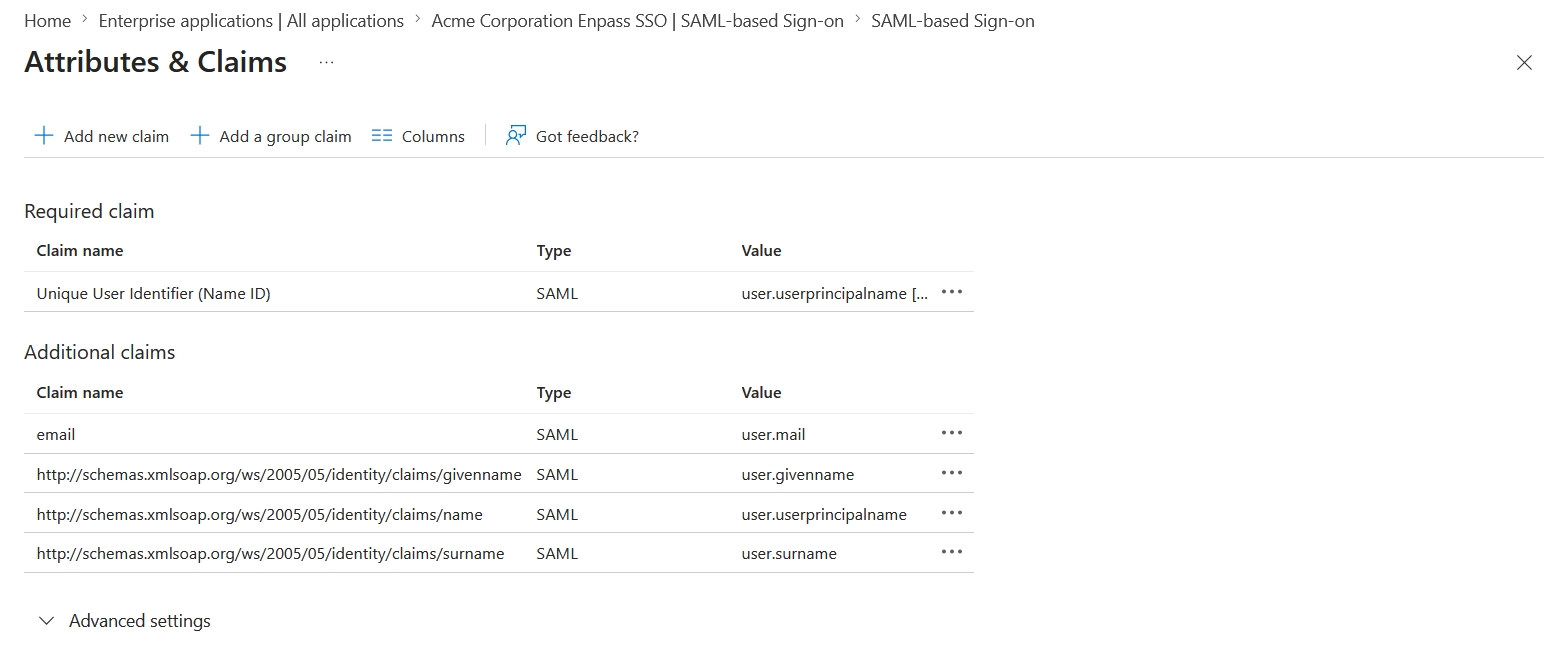
-
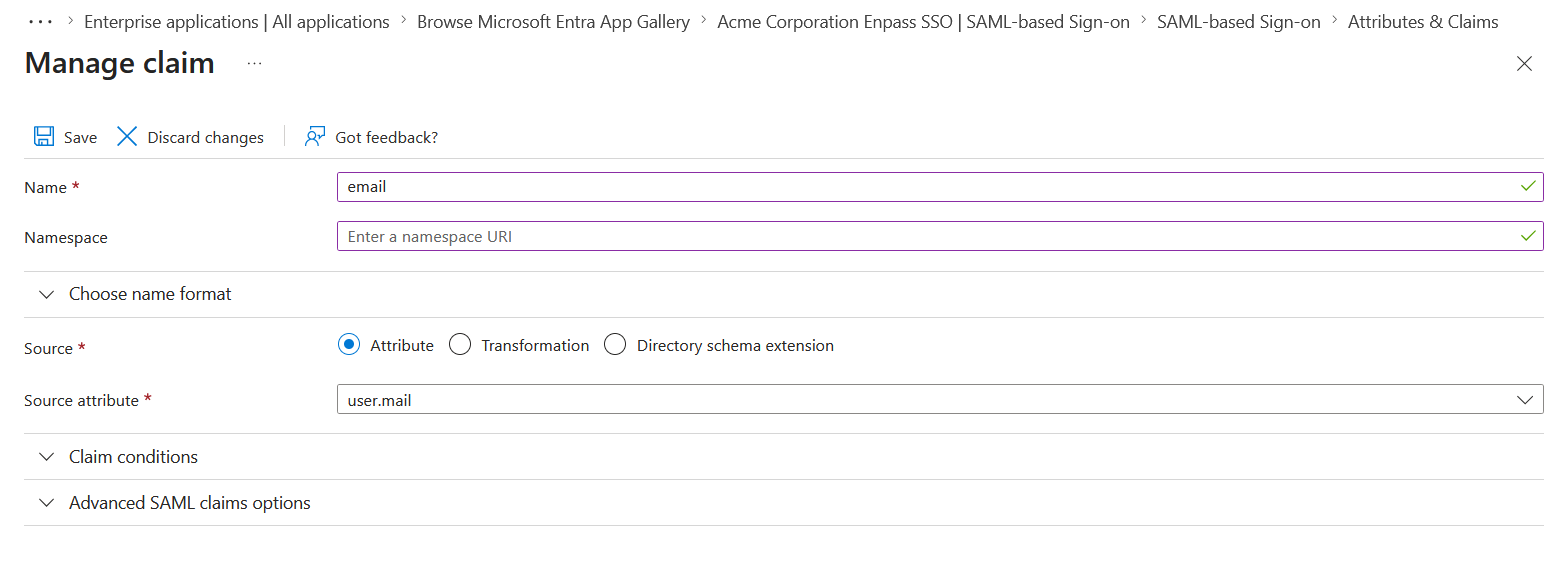
In the Manage claim window:
-
Set the Name field to
email. -
Clear the Namespace field entirely.
-
Click Save.
-
-
Close the panel. You may safely delete any claims other than
email.
Step 4: Configure Certificate Signing
-
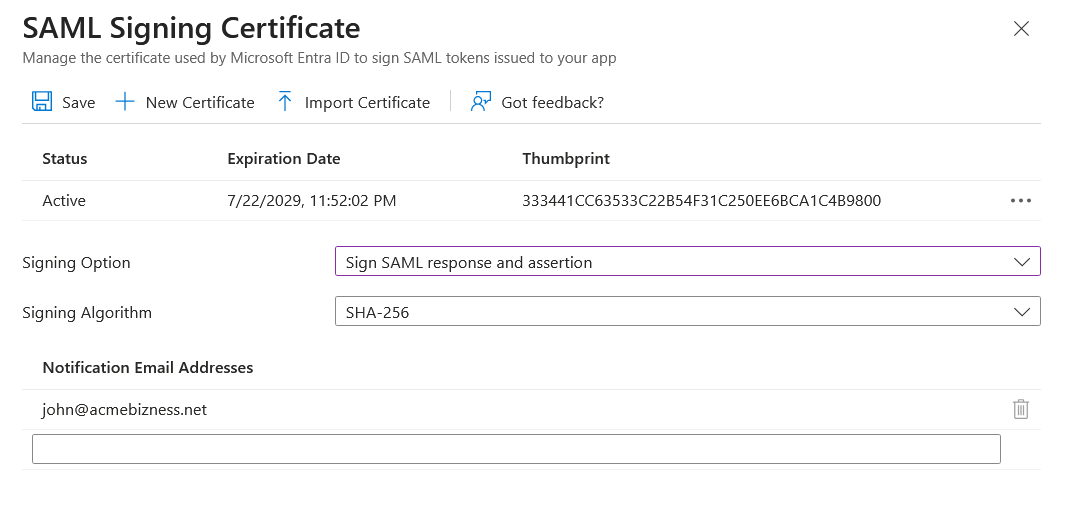
Click Edit next to Token signing certificate.
-
Set the Signing Option to Sign SAML response and assertion.
-
Click Save, then close the panel.
Step 5: Copy the Metadata URL
-
In the SAML Certificates section, copy the App Federation Metadata URL. You'll use this in Phase 3.
Step 6: Assign Users
-
In the sidebar under Manage, select Users and Groups.
-
Assign all admins who need SSO access to the Enpass Admin Console to this application.
Phase 3: Finish Setup in Enpass
-
Return to the Enpass Admin Console SSO setup page (where you left off in Phase 1).
-
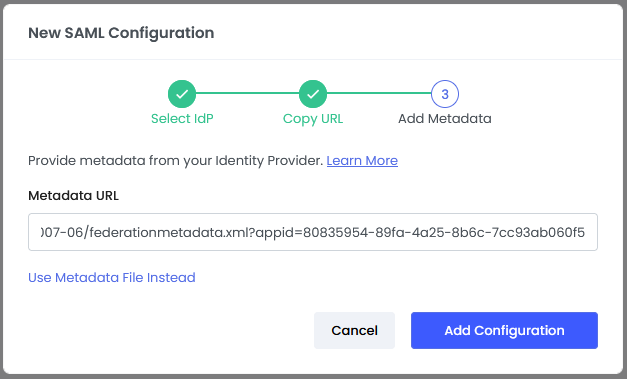
Paste the App Federation Metadata URL copied from Entra ID into the Metadata URL field, or upload the metadata XML file if preferred.
-
Click Add Configuration to save.
Test the Configuration
-
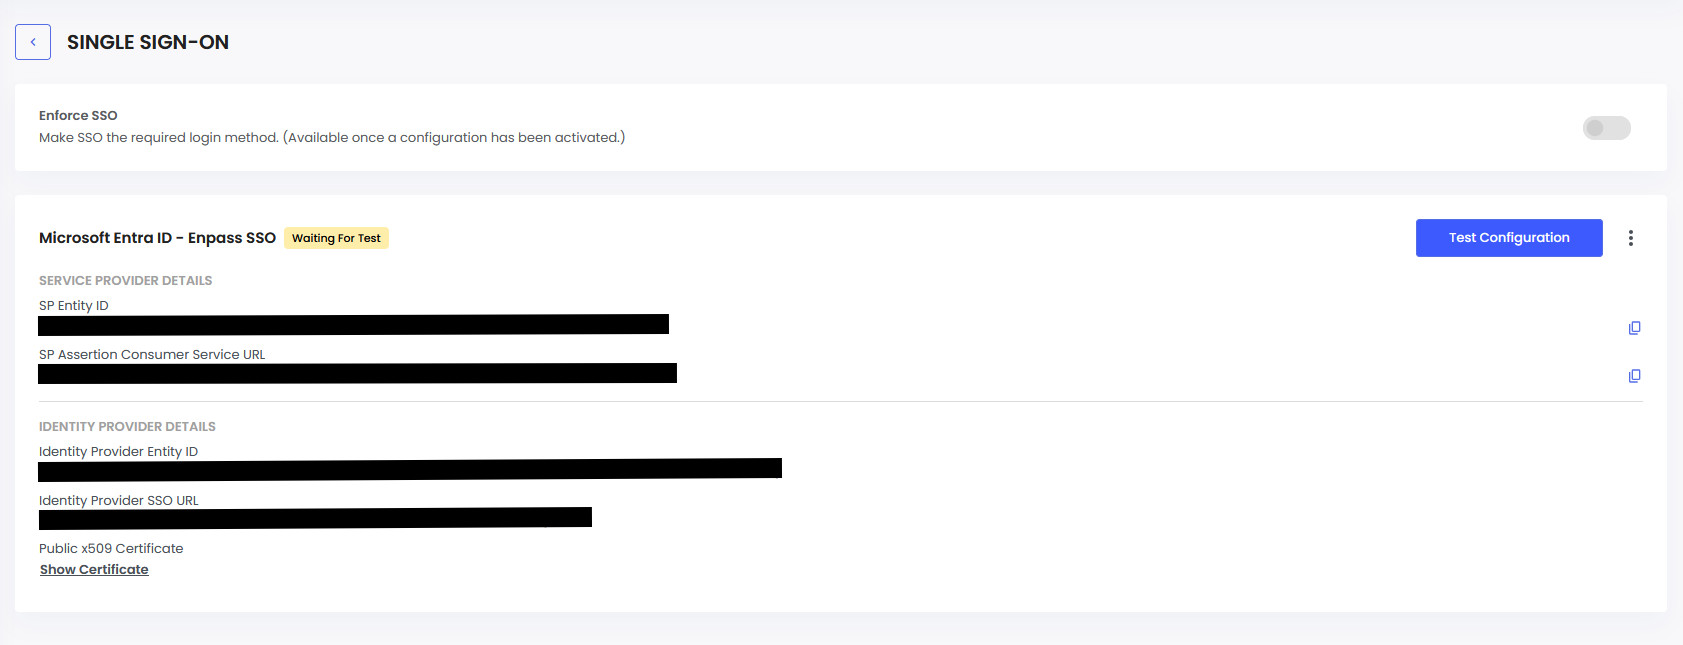
Click Test Configuration, then click Start Test. A new tab will open and run a test sign-in through Entra ID. The tab closes automatically when the test is complete.
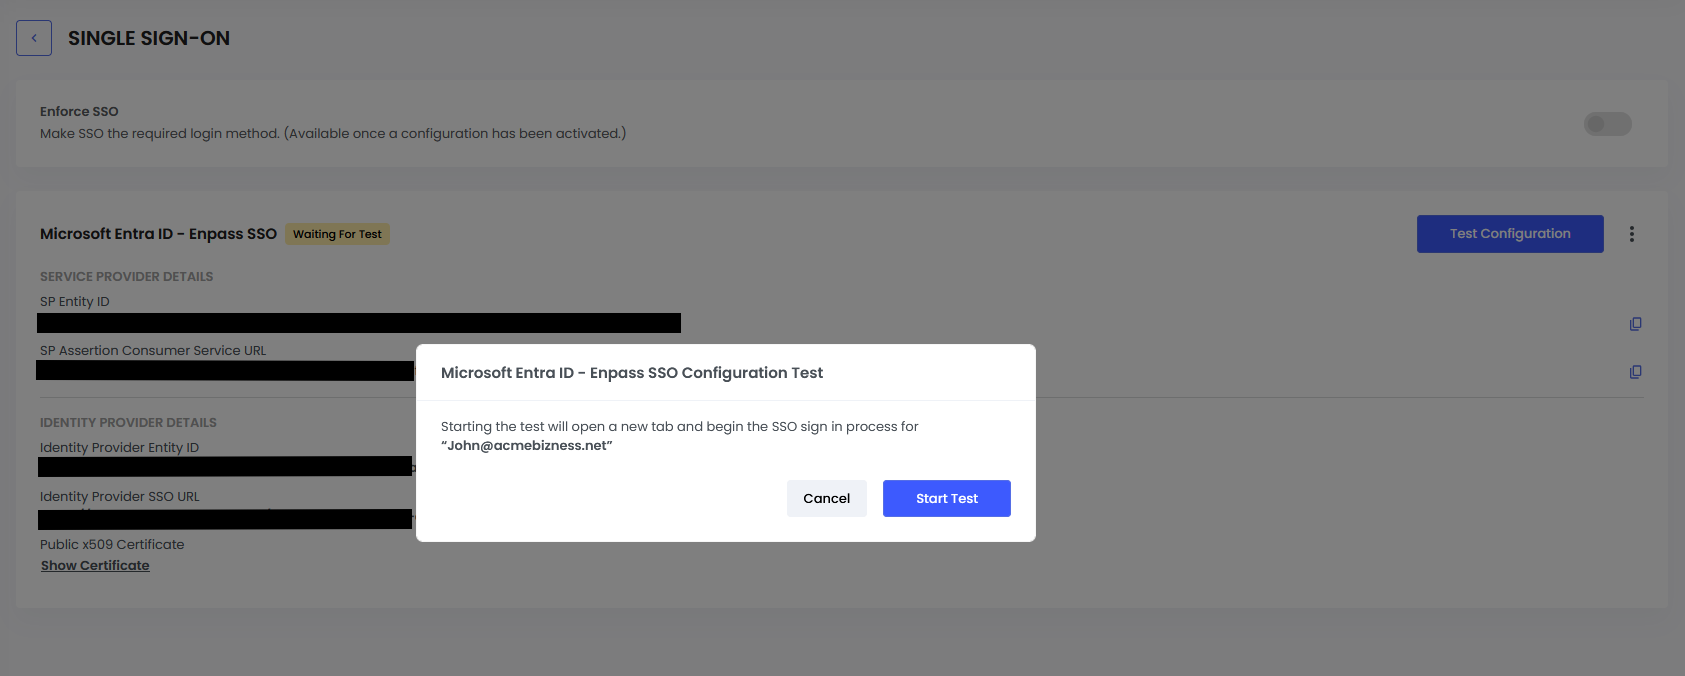
If the test fails, double-check that the Entity ID and ACS URL in Entra ID exactly match the values from Enpass, and that the metadata URL is accessible.
Activate SSO
-
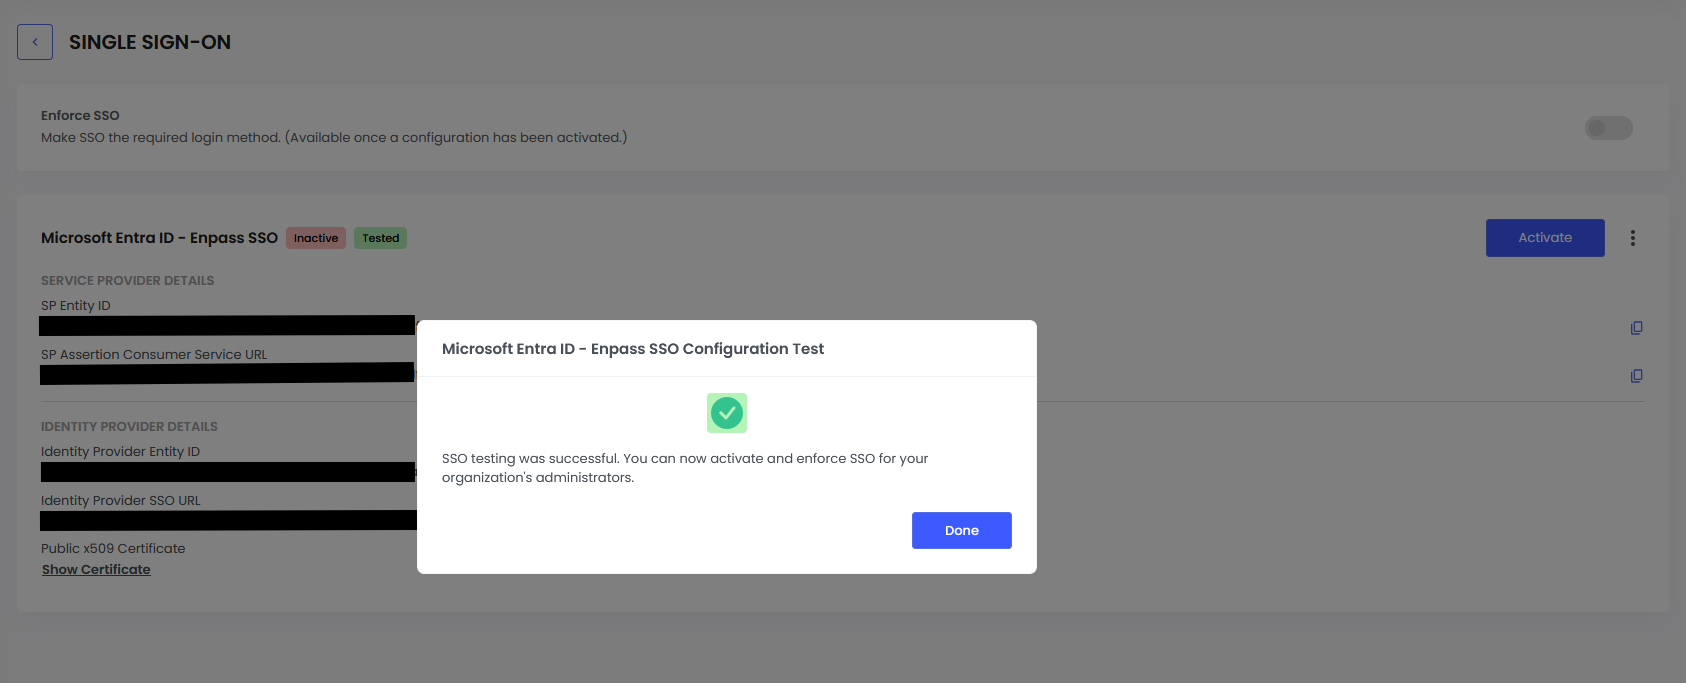
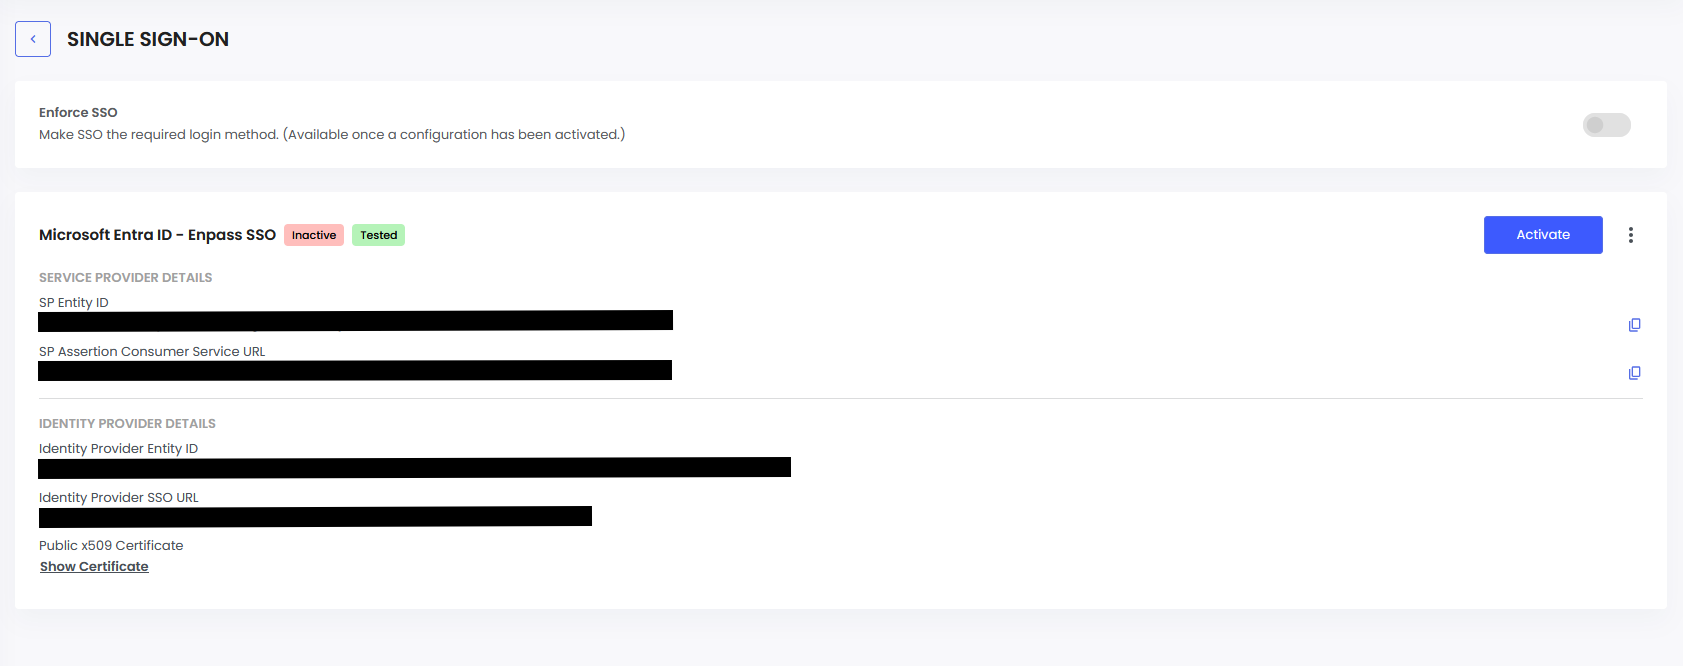
Once the test passes, click Activate to enable SSO login for Admin Console users.
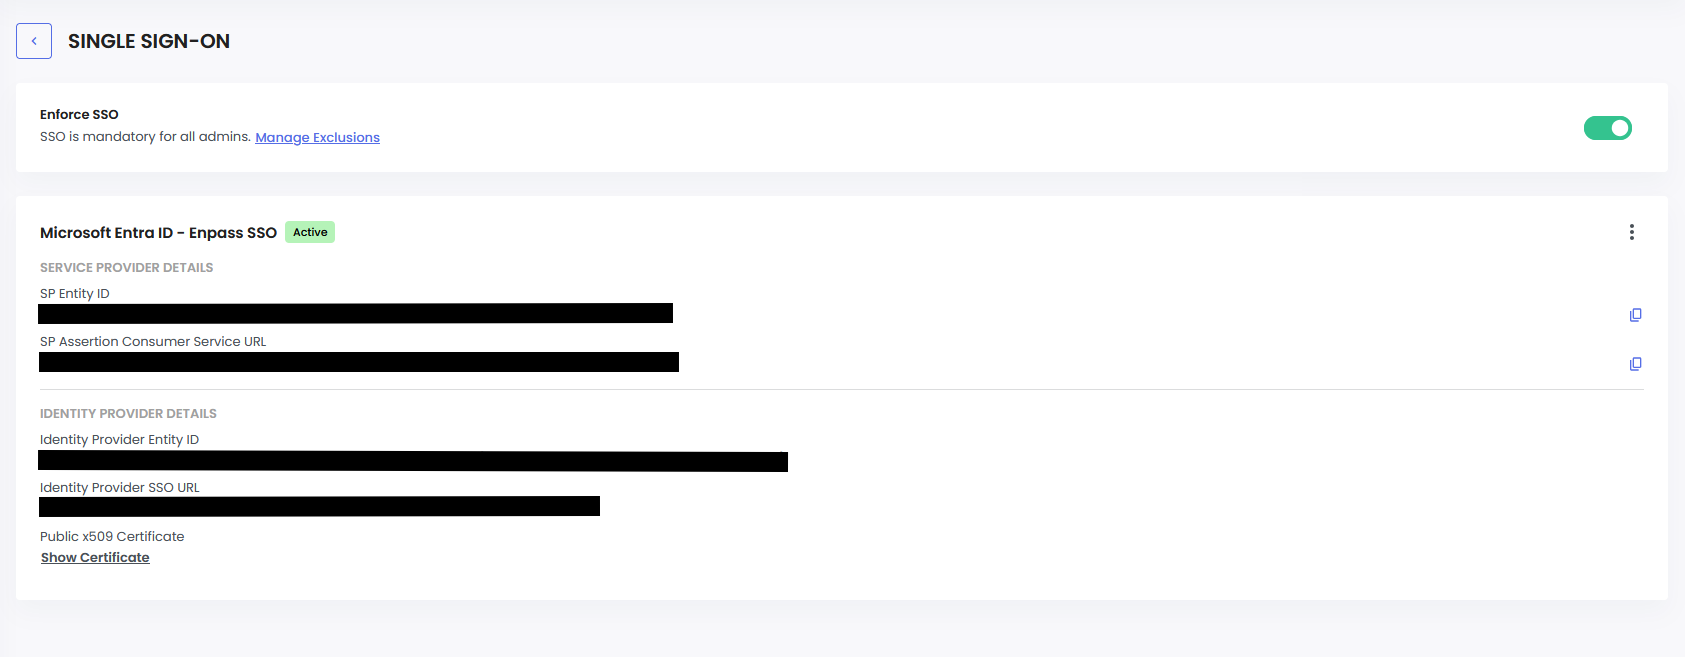
Enforce SSO (Optional)
-
To make SSO the only permitted login method, enable the Enforce SSO toggle on the SSO settings page. This disables email/password login for all admins.